This is my second Power Automate project for my coworkers in Faculty Affairs. The purpose for this flow was to extract faculty members from the database 18 months after their initial appointment, with some additional filters for their rank and track.
The purpose for the extraction is to alert new faculty that they should think about working on their promotion packages which are due at the second year anniversary. We want to give them a 6-month reminder.
We wanted to exclude faculty ranks of Professor or Emeritus because there are no more promotions for them in this realm.
We also wanted to exclude the track of Tenured, which in our world means that they no longer can/want to be promoted and will stay in their current rank.
The process for creating the flow is very similar to that outlined in the Extracting Data from Excel Using Power Automate sequence, which will contain more detailed instructions in many cases. Please refer back to that article for the different sections.
Complete Power Automate Sequence
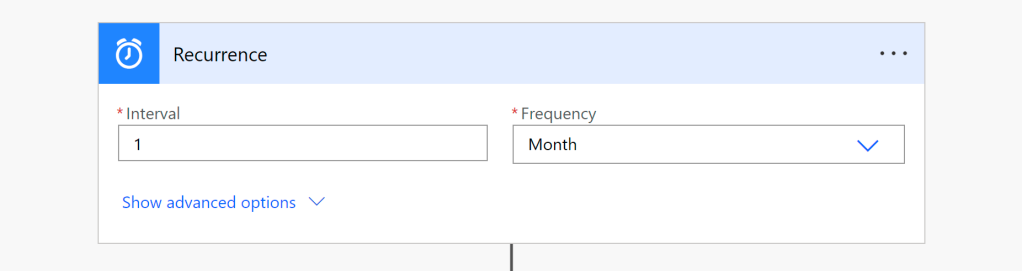
Step 1: Setup trigger or recurrence
We start with adding a recurrence. In our case we want to run this monthly, and we set July 10 to be the start date.
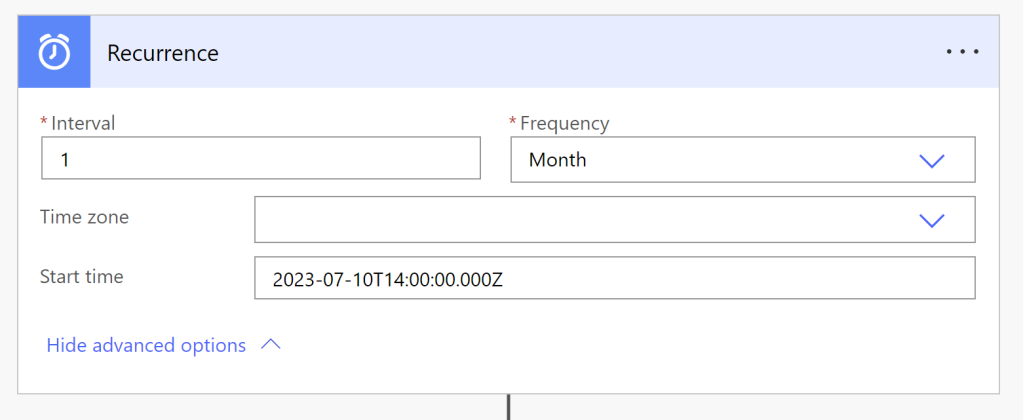
Interval: 1; Frequency: month
You can also add time zone and start time (in ISO 8601 format)
e.g. 2023-07-10T14:00:00.000Z
Step 2: Initialize all the variables you will need
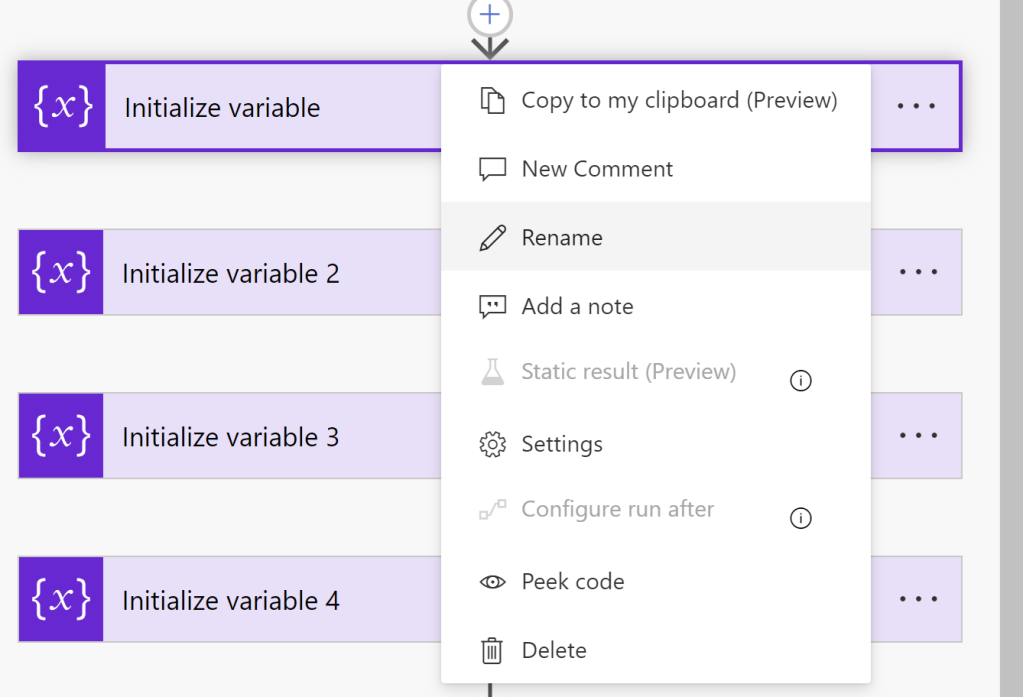
Initializing (or creating) variables is the first step. A variable is nothing more than an element of data. You don’t necessarily need to put them all in the beginning of the flow, but I like to do so to help me stay organized. You use the Initialize Variable command to create the variables. In this flow, we create mostly date manipulation variables for today’s date, the 18 month date, the 2 year date, etc.
Most of the variables will remain blank upon creation as we will be using the Set Variable command later to assign data to these variables.
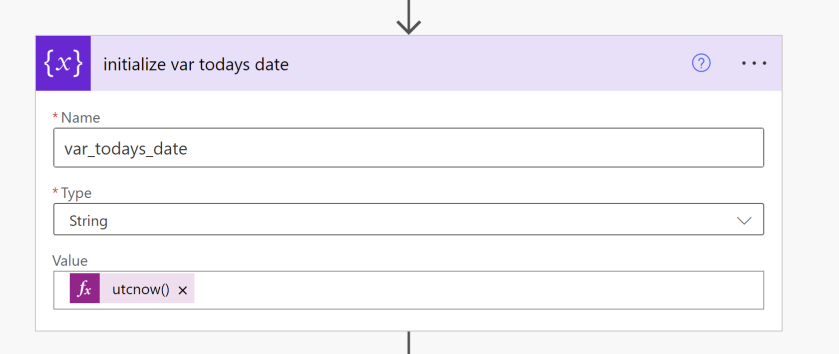
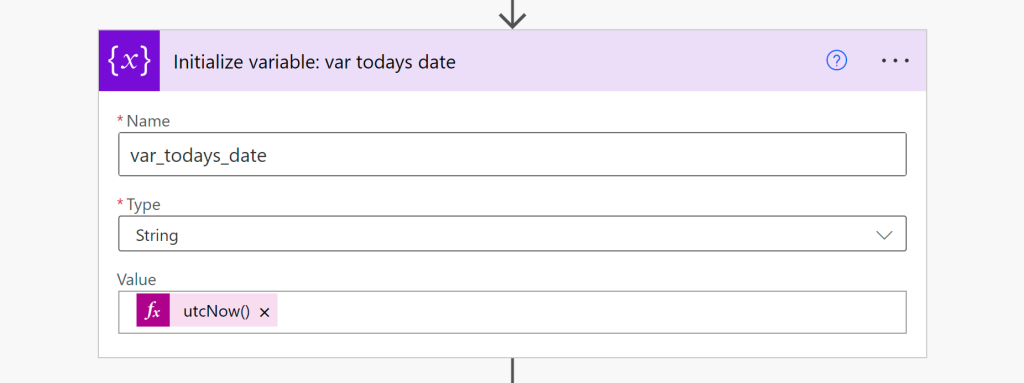
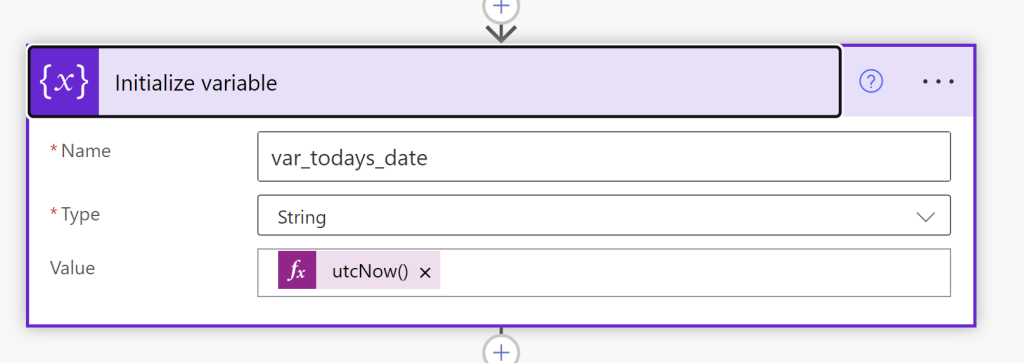
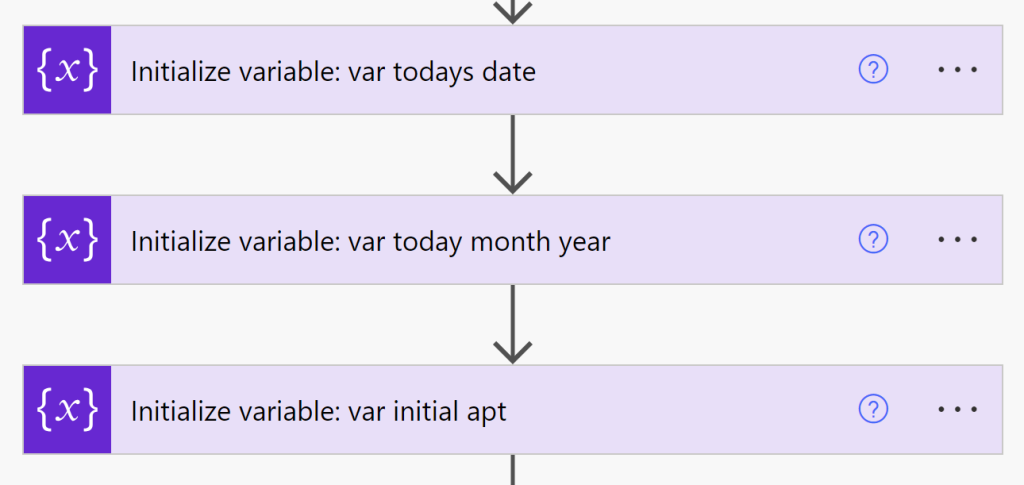
Name: var_todays_date
Type: String
Value: Expression: utcnow()
We need today’s date in order to perform comparisons, so we have var_todays_date which we set to utcnow() in the Expression box.
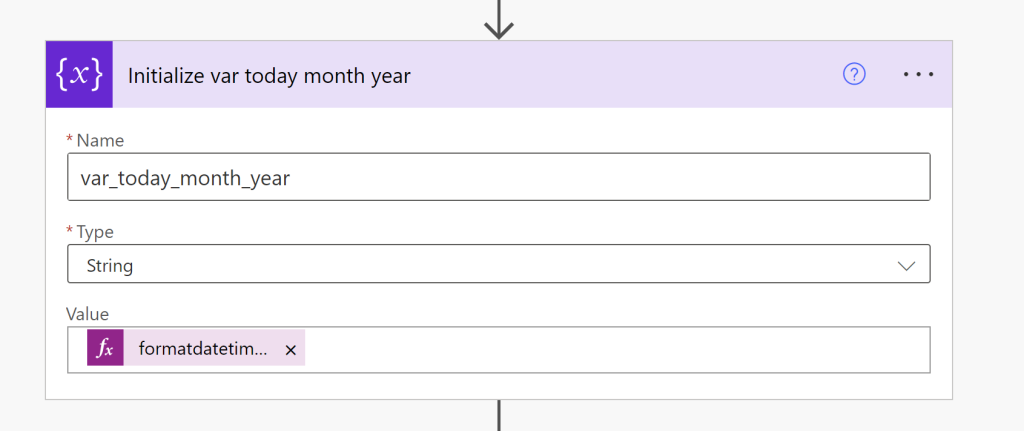
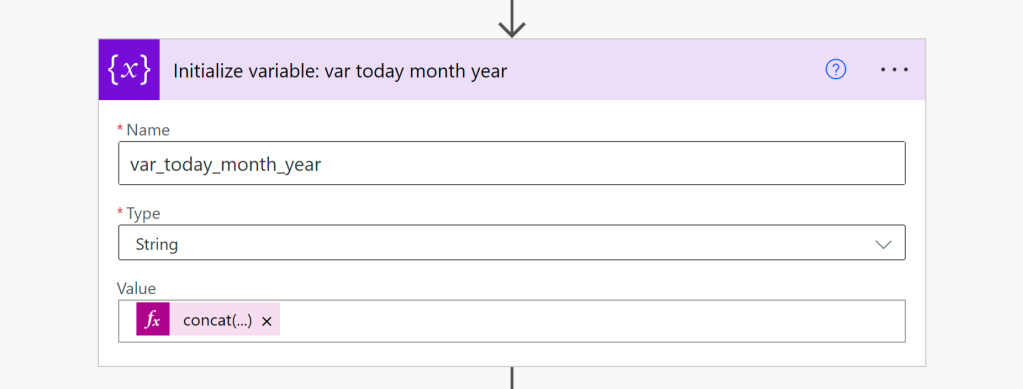
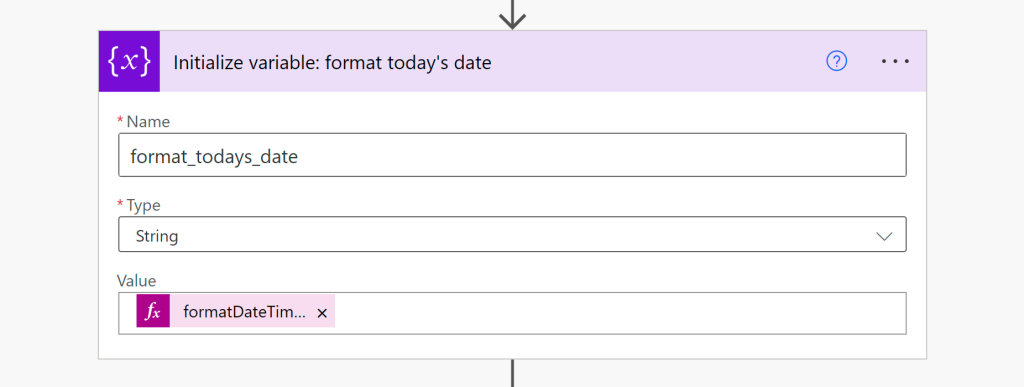
Name: var_today_month_year
Type: String
Value: Expression: formatdatetime(variables(‘var_todays_date’),’MM-yyyy’)
In the var_today_month_year variable we now take today’s date and only extract month and year so we can compare it against the month and year in the 18-month variable we will create later on.
formatdatetime(variables('var_todays_date'),'MM-yyyy')
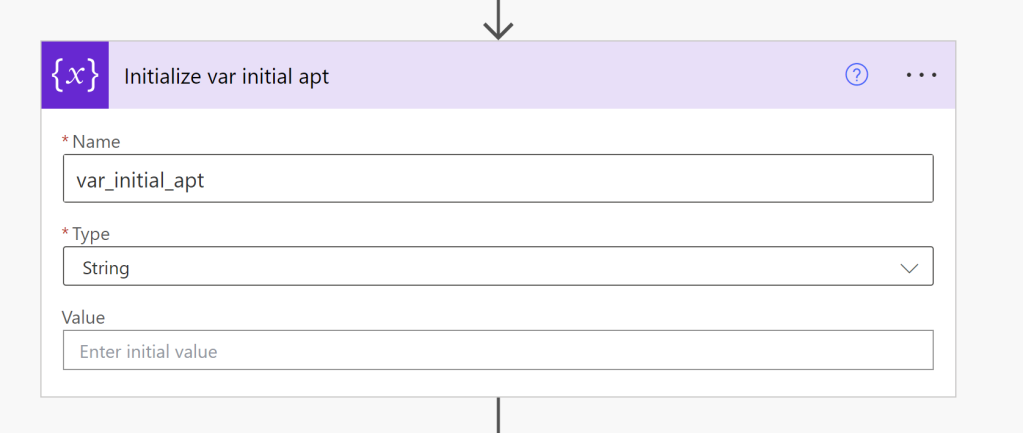
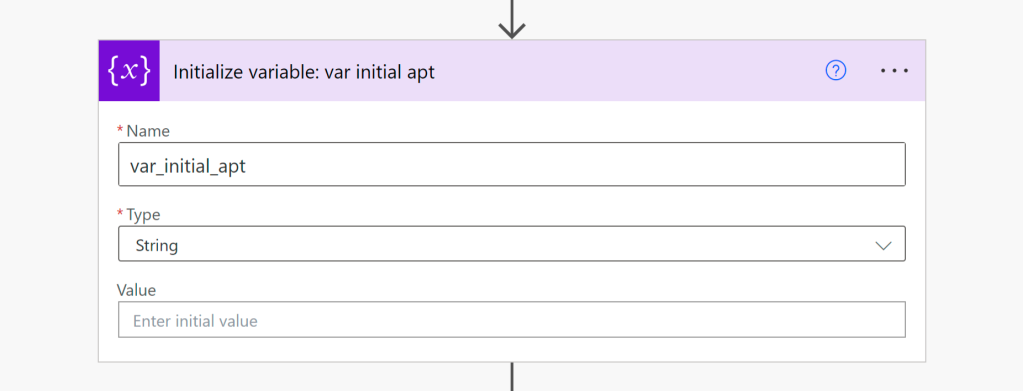
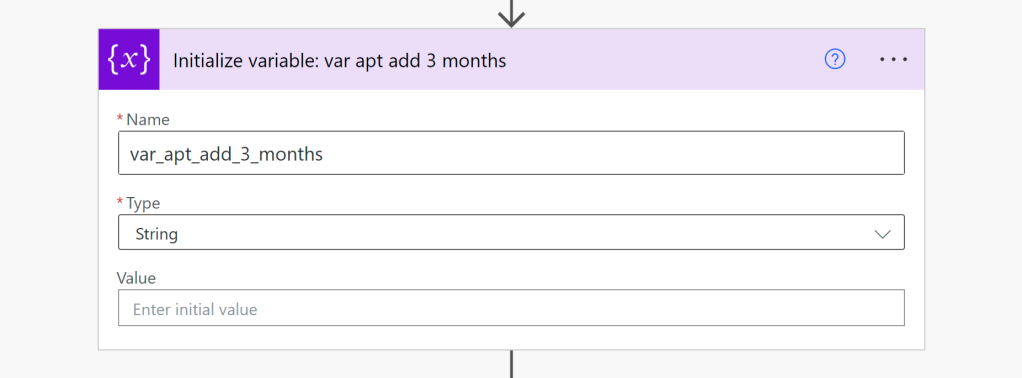
Name: var_initial_apt
Type: String
Value: leave blank
The var_initial_apt variable is created to hold the Date of Initial Appointment data from the spreadsheet.
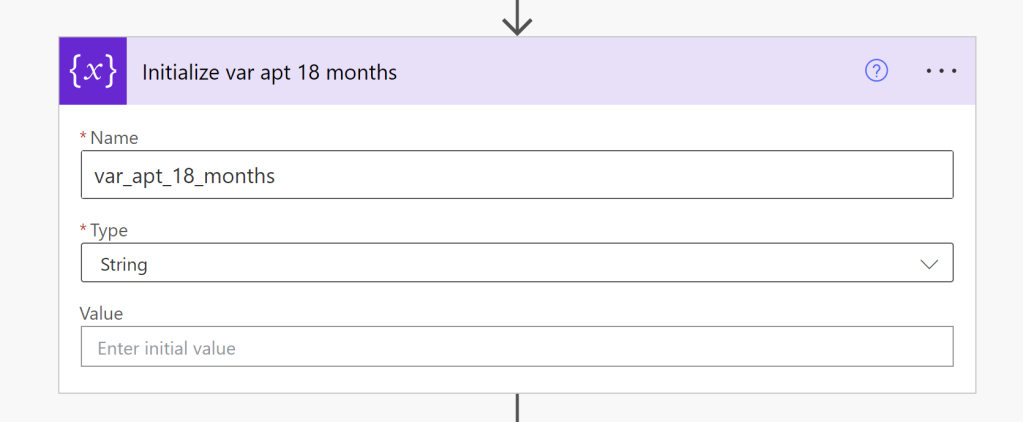
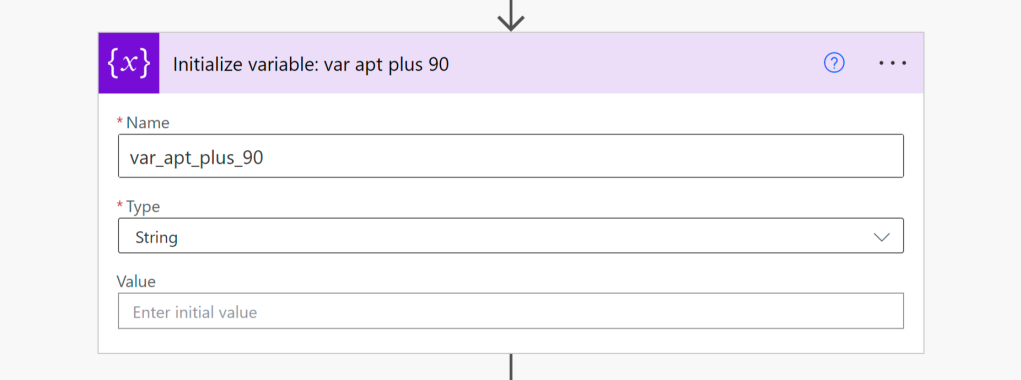
Name: var_apt_18_months
Type: String
Value: leave blank
The var_apt_2_years variable will hold the 2-year anniversary date, which we can use inside the email to the faculty member.
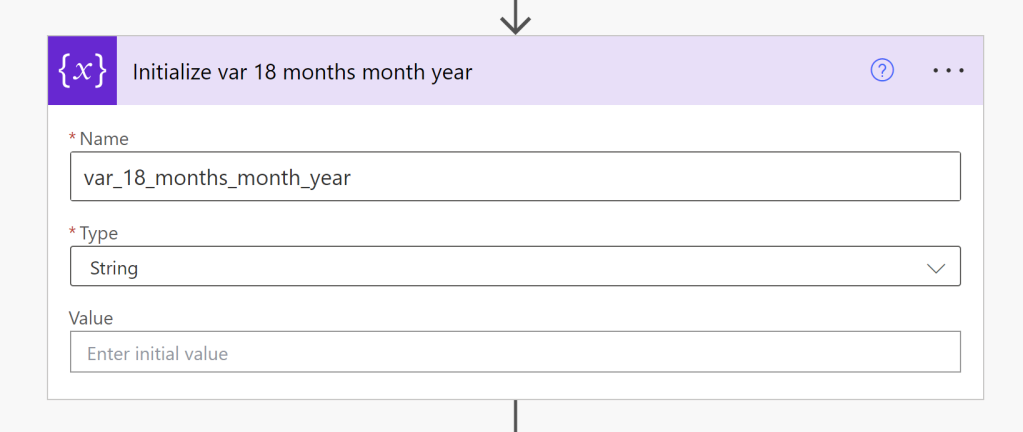
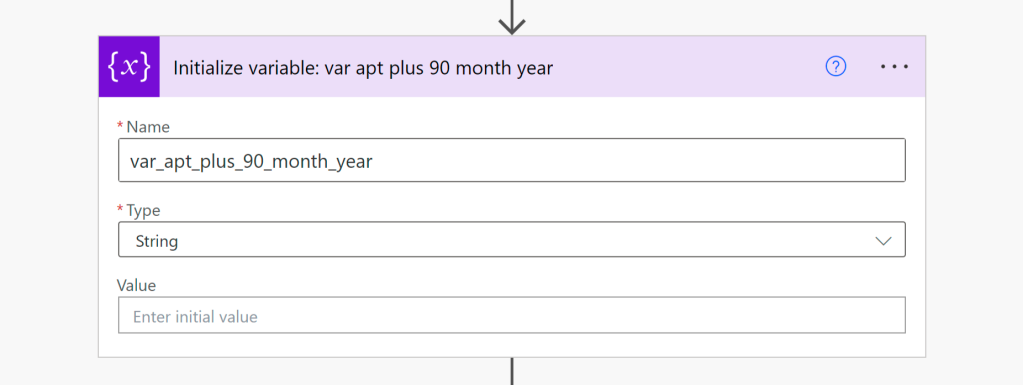
Name: var_18_months_month_year
Type: String
Value: leave blank
The var_18_months variable will hold the date 18 months after the Date of Initial Appointment gathered from the spreadsheet.
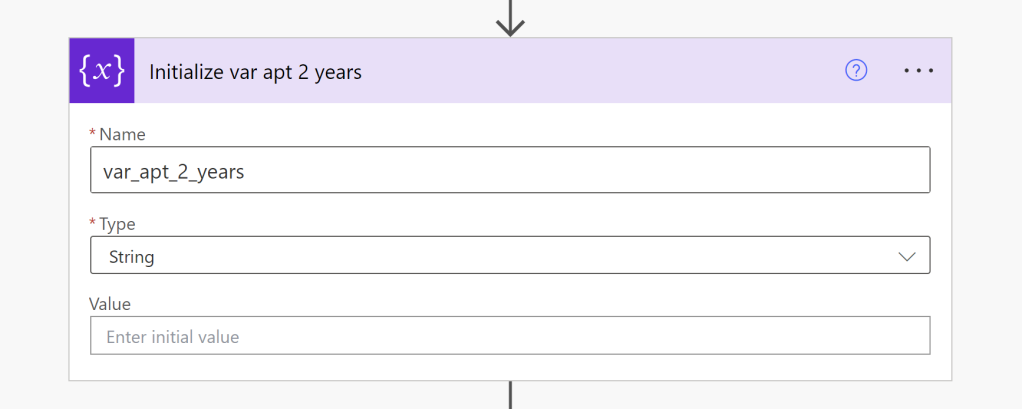
Name: var_apt_2_years
Type: String
Value: leave blank
The var_18_months_month_year variable will take the above variable and only provide the month and year so we can compare it against the month and year for today’s date.
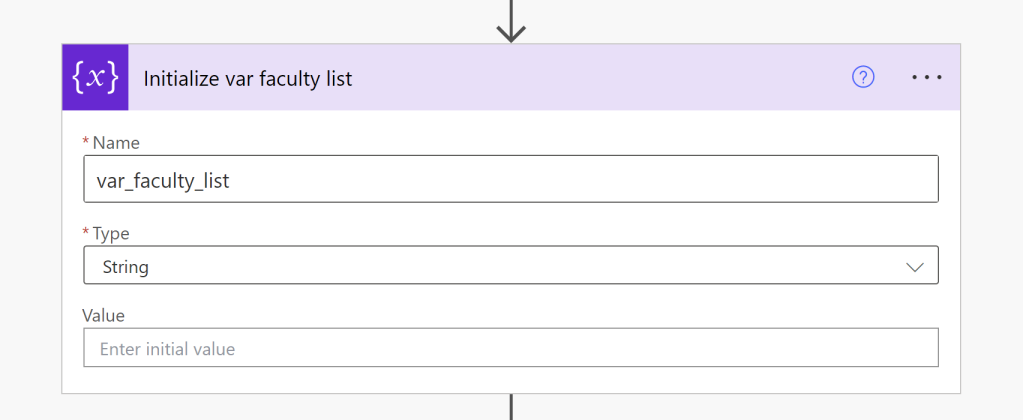
Name: var_faculty_list
Type: String
Value: leave blank
The var_faculty_list will be the variable that collects all the data about the faculty members who meet the filter requirements.
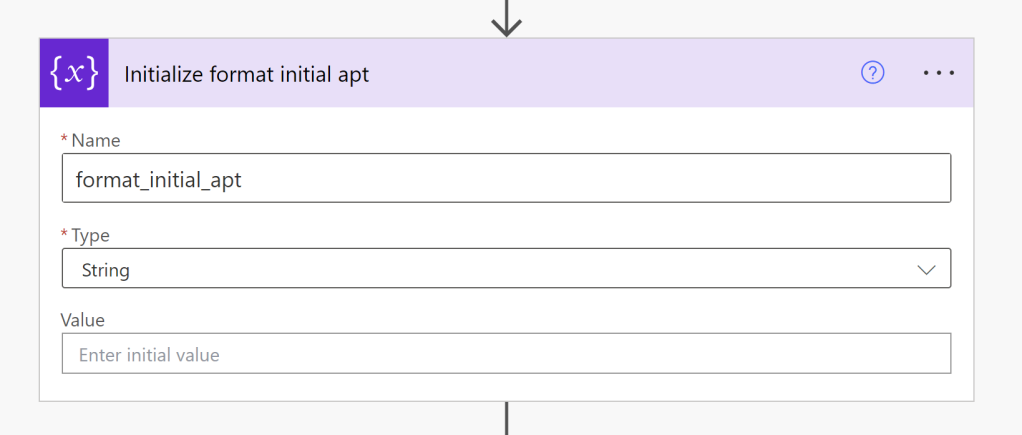
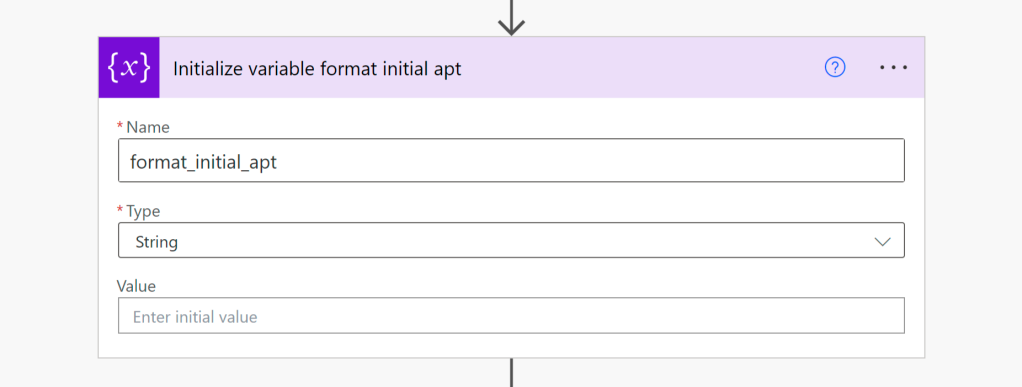
Name: format_initial_apt
Type: String
Value: leave blank
The format_initial_apt variable will be used to transform the ISO 8601 dates into a regular date format.
Step 3: List Rows present in a table
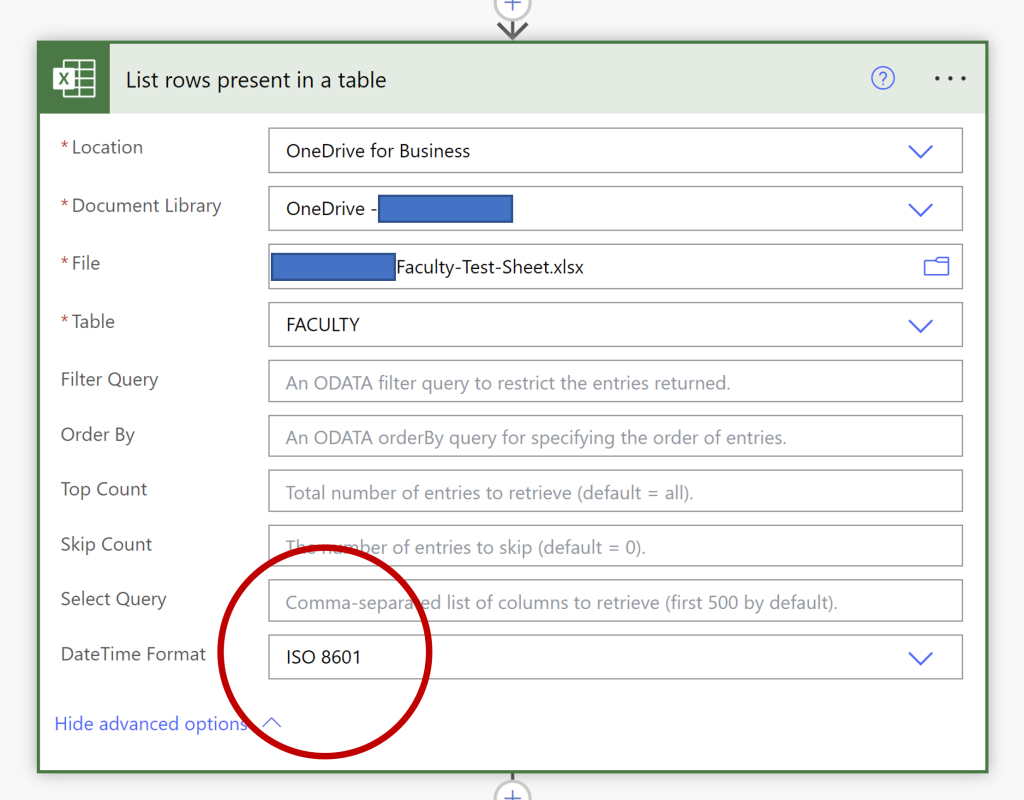
Now that we have created/initialized all the variables it’s time to activate the Excel Spreadsheet. Use the List Rows present in a table function.
For more details on this step, see Extracting data from Excel using Power Automate (Part 1)
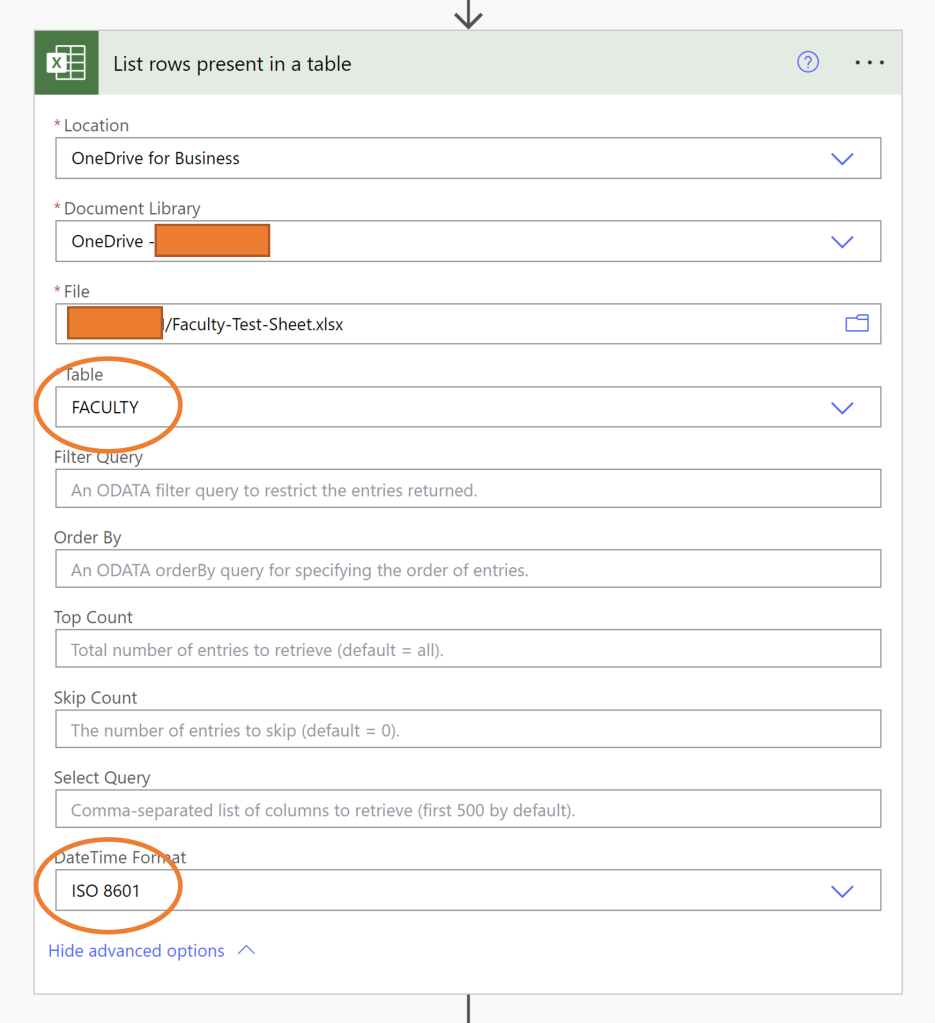
Choose the location, library, and file with which you want to work.
Choose the name of the table.
Under Advanced options, set DateTime format to ISO 8601
The most important piece beyond locating the spreadsheet itself, is making sure that under the Advanced Options, that you set the date format to ISO 8601. You won’t be able to perform calculations without this action.
Overriding 256 row limit in Excel
By default, Microsoft limits the number of rows that it will process per session. The default limit is 256. If your file contains more than 256 rows, this won’t be very helpful.
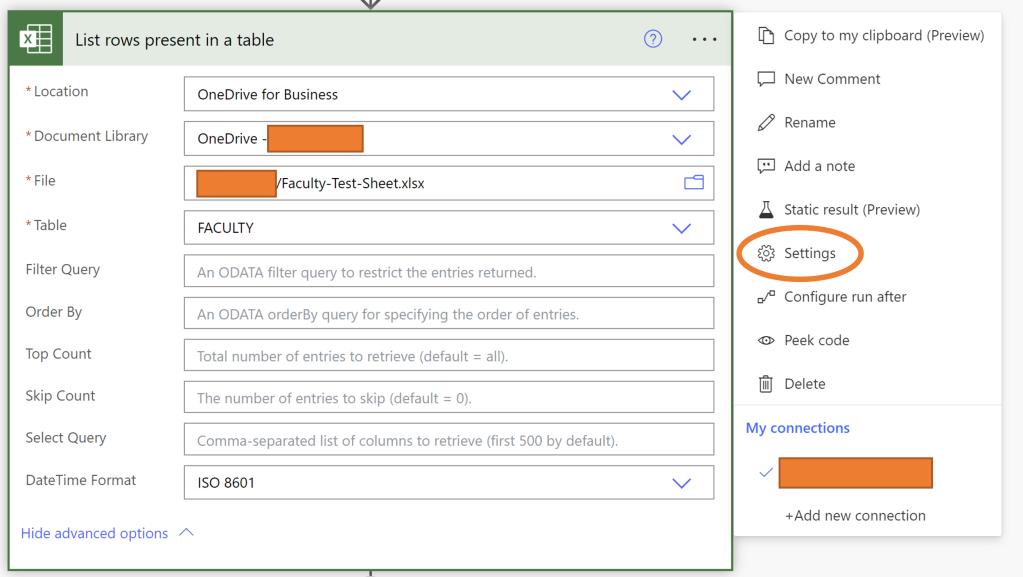
To override this limitation, click on the … dots in the List Rows present in a table action and access Settings.
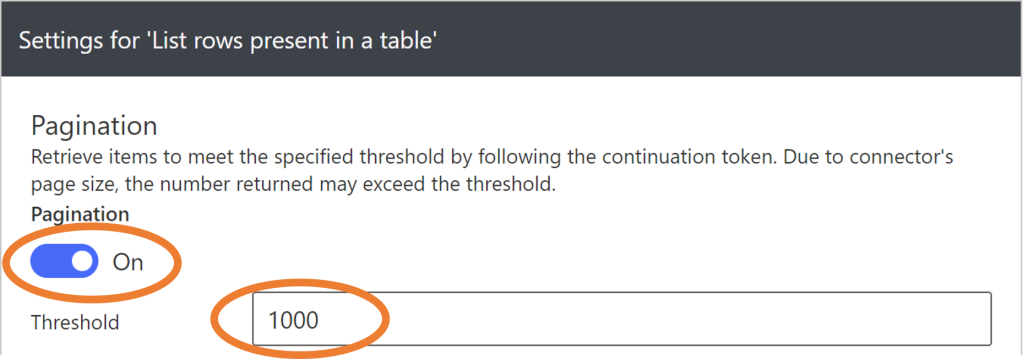
Enable Pagination and then set the number of records you want to process in a single call in the Threshold value. The example above shows 1000 as our database contains 850 rows currently.
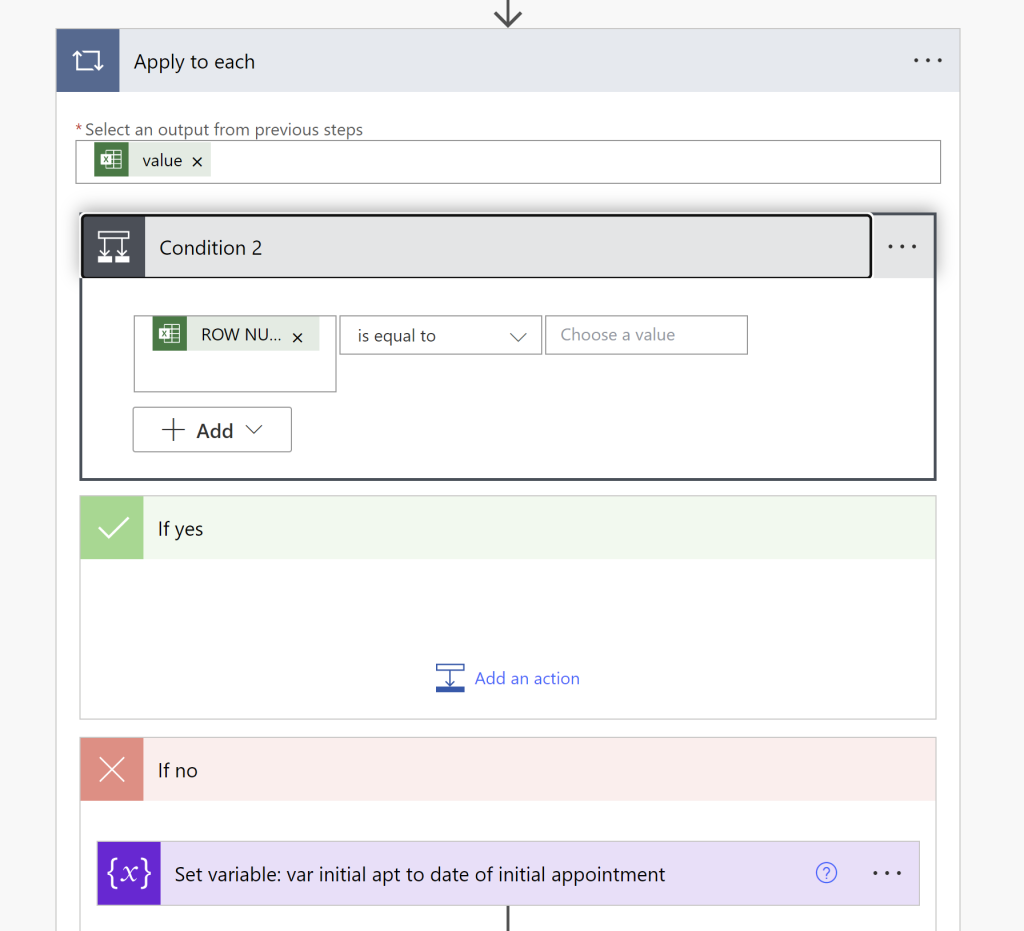
Step 4: Add the first round of filters
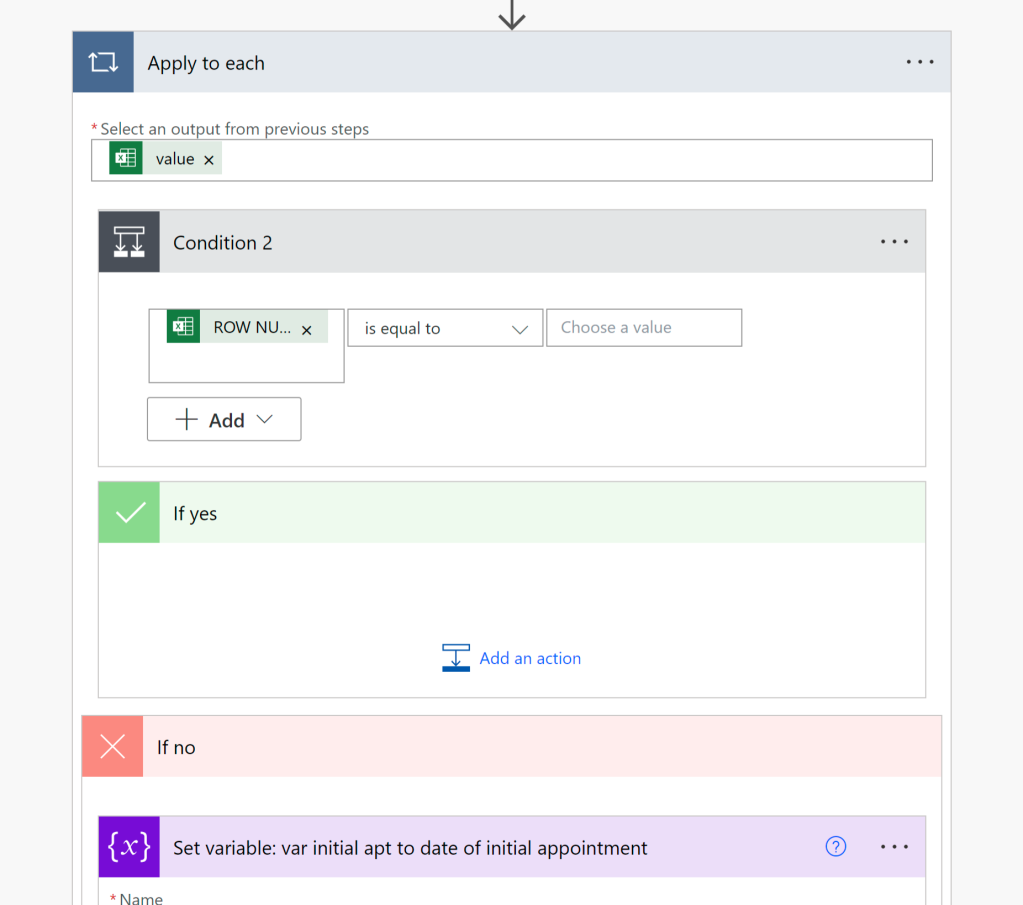
Use the Condition feature to create the first round of filters.
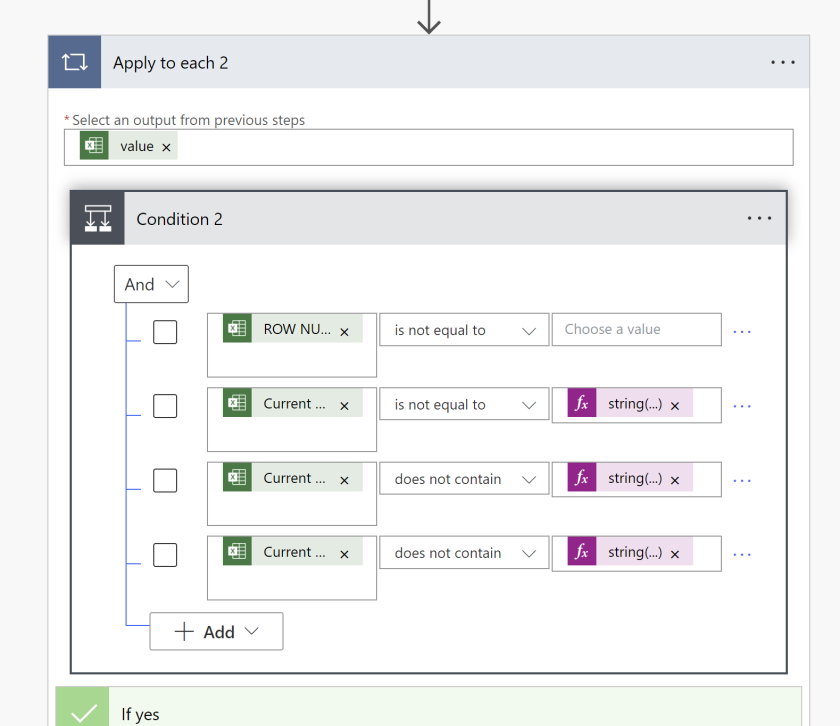
Select an output from previous steps: Use Value from the spreadsheet.
Use the settings below to set four filters.
The filters I used here are as follows:
- ROW NUMBER is not equal to (leave value blank)
- Current Rank is not equal to string(‘Professor’)
- Current Rank does not contain string(‘Emeritus’)
- Current Track does not contain string(‘Tenured’)
Which basically ensures that the row is not blank and
- exclude anyone who already holds the Professor rank
- exclude anyone who holds Emeritus status
- exclude anyone who is already fully tenured
Step 5: Set and manipulate variables
From here you create actions for those that meet the exclusion criteria above under the YES column. If there was anything you wanted to do with anyone who do not meet the exclusion criteria, you would enter actions in the NO column. In this flow, we won’t be using the NO column for this condition.
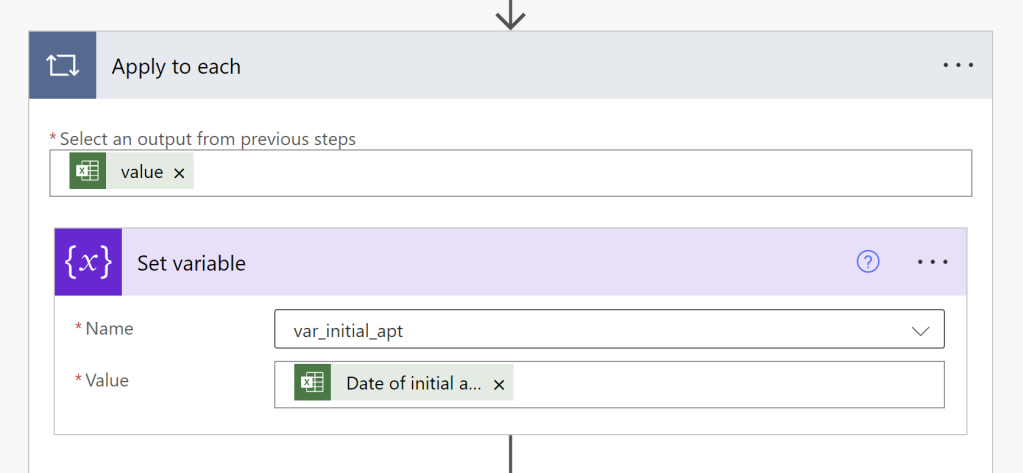
Within the YES column, add the following Set Variable items.
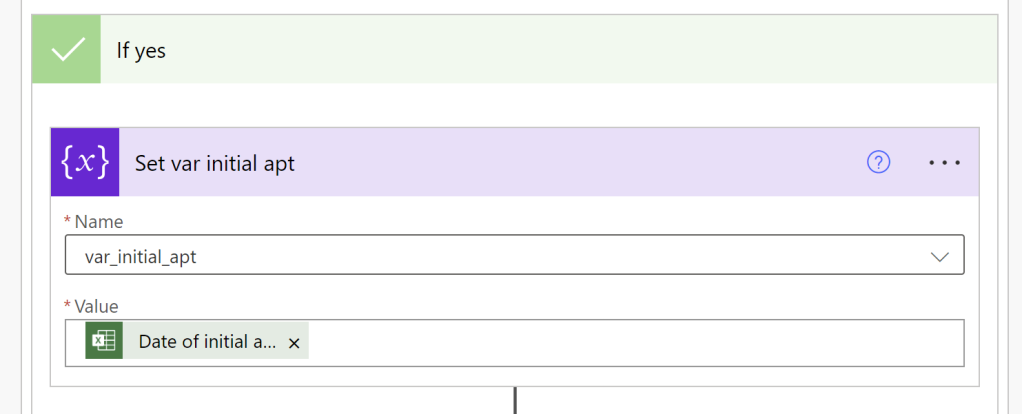
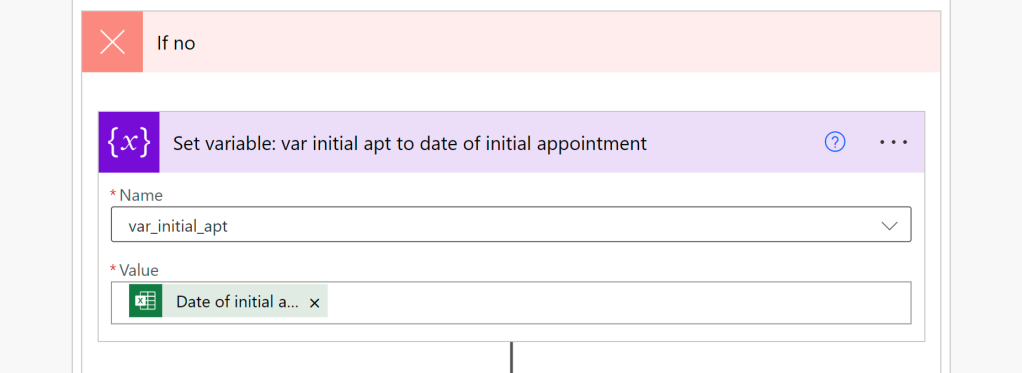
Name: choose var_initial_apt from the drop down
Value: drag the Date of Initial Appointment from dynamic content
Set the var_initial_apt variable to the Date of Initial Appointment field from the Spreadsheet
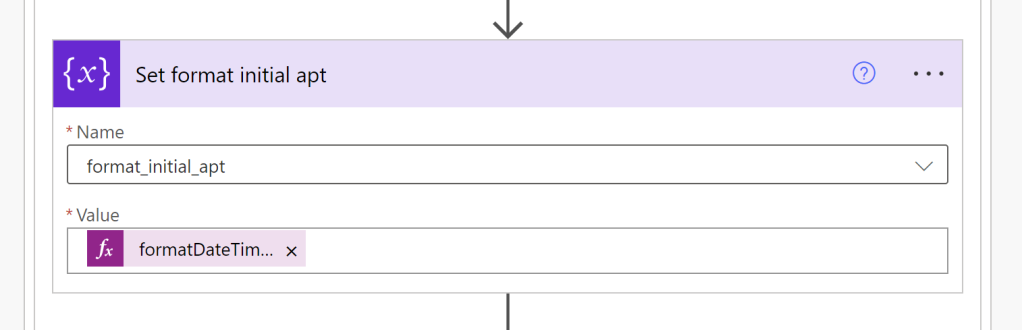
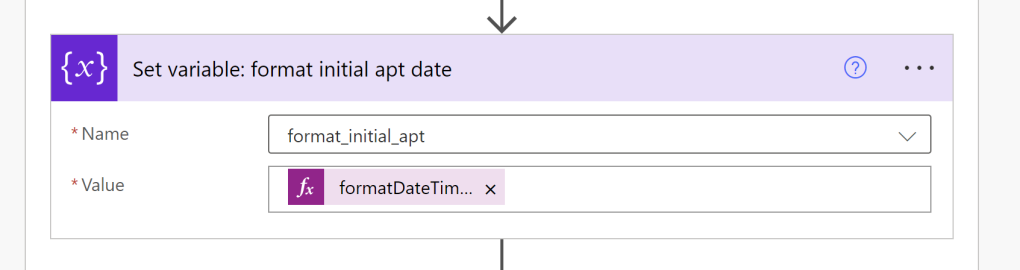
Name: choose format_initial_apt from the drop down
Value: Expression: formatDateTime(variables(‘var_initial_apt’),’MM/dd/yyyy’)
Set the format_initial_apt variable take the initial appointment date and transform it into a regular date format.
formatDateTime(variables('var_initial_apt'),'MM/dd/yyyy')
Use settings below
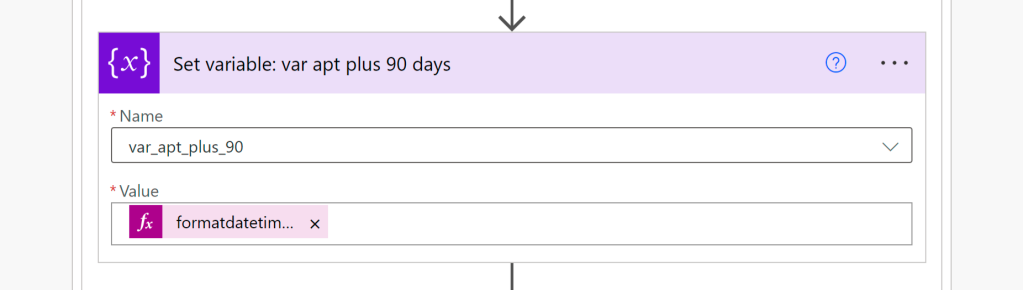
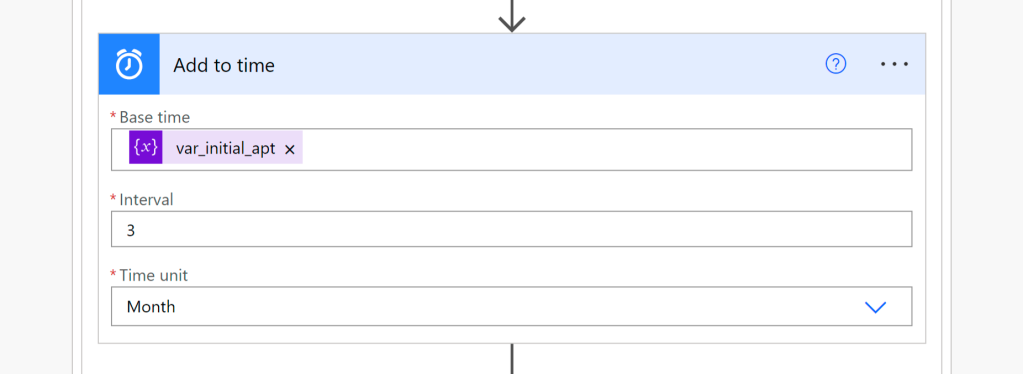
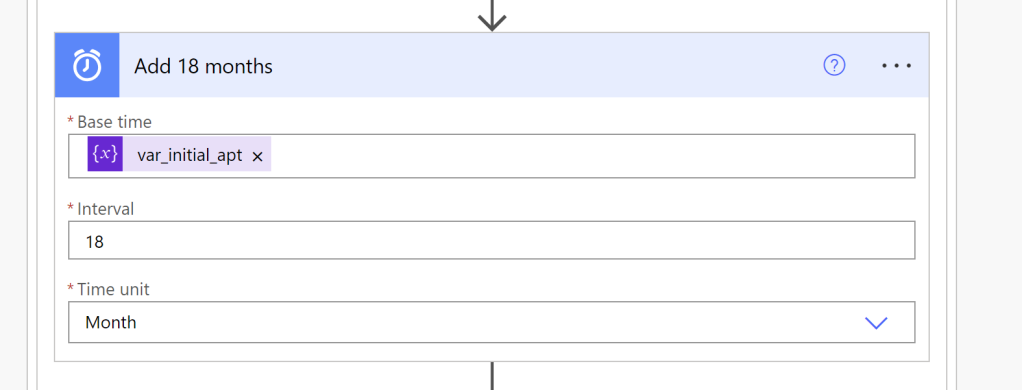
Use the Add Time feature to add 18 months to the initial appointment date. Rename the action to Add 18 months.
- Base Time: var_initial_apt
- Interval: 18
- Time Unit: Month
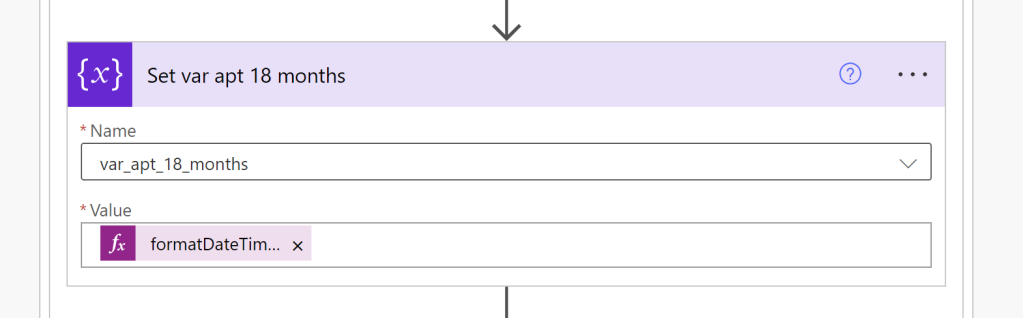
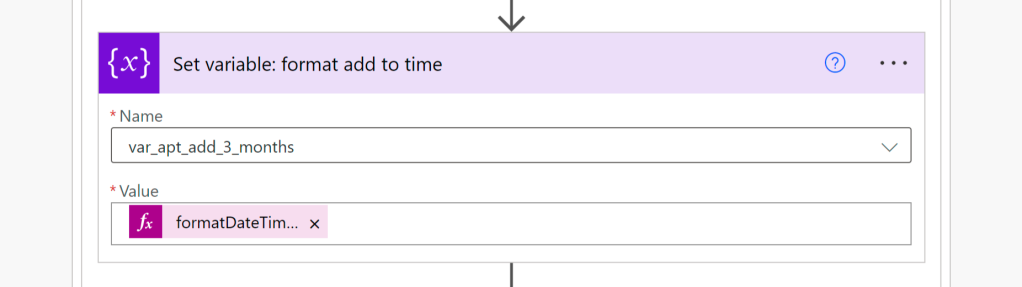
Name: choose var_apt_18_months from the drop down
Value: Expression: formatDateTime(body(‘Add_18_months’),’MM/dd/yyyy’)
Now that we have calculated the date 18 months from the date of initial appointment, we need to assign it to an actual variable var_apt_18_months, so we can continue to use it.
formatDateTime(body('Add_18_months'),'MM/dd/yyyy')
It’s important to note that the ‘Add_18_months’ must match the name you entered in the Add Time feature, replacing spaces with underscores _.
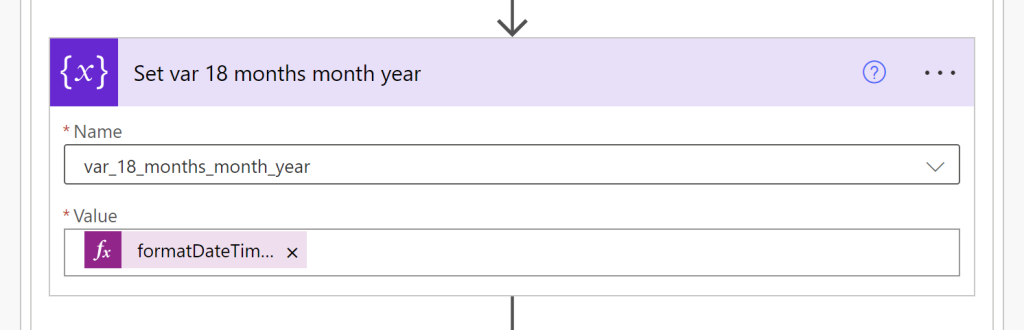
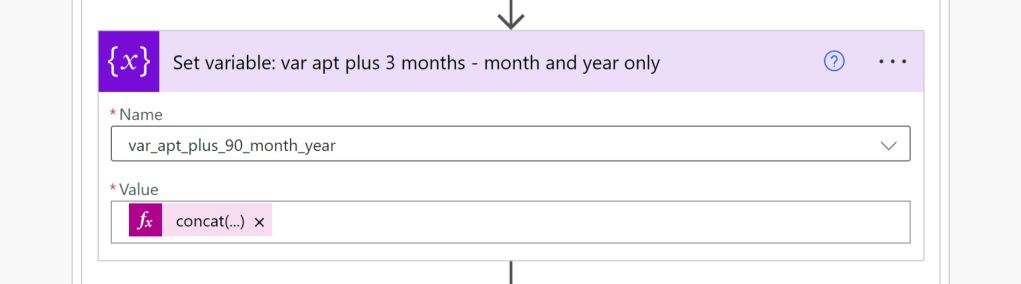
Name: choose var_apt_18_months_month_year from the drop down
Value: Expression: formatDateTime(variables(‘var_apt_18_months’),’MM-yyyy’)
Now that you have set the 18 month variable, we need the month-year version so we can compare it against the month-year of today’s date. We do that with the var_18_months_month_year variable and giving it the date format of MM-yyyy.
formatDateTime(variables('var_apt_18_months'),'MM-yyyy')

Use settings below
To obtain the 2-year anniversary for the faculty member, we use the Add Time feature to add 24 months to the initial appointment date. Rename the action to Add 2 years.
- Base Time: var_initial_apt
- Interval: 24
- Time Unit: Month
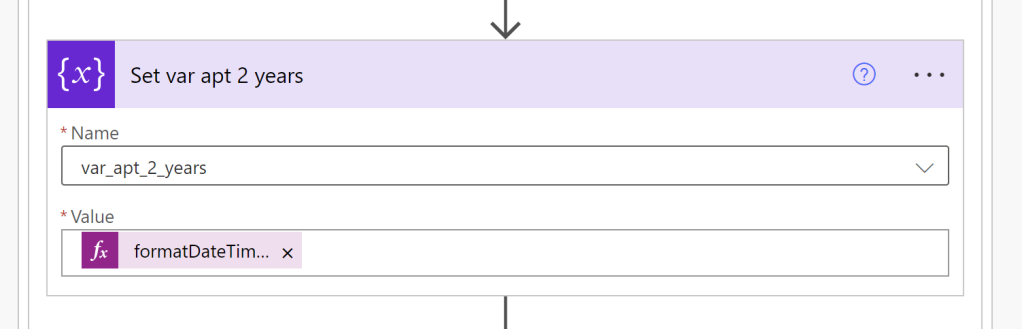
Name: choose var_apt_2_years from the drop down
Value: Expression: formatDateTime(body(‘Add_2_years’),’MM/dd/yyyy’)
Now that we have calculated the date 2 year anniversary from the date of initial appointment, we need to assign it to an actual variable, so we can continue to use it.
formatDateTime(body('Add_2_years'),'MM/dd/yyyy')
It’s important to note that the ‘Add_2_years’ must match the name you entered in the Add Time feature, replacing spaces with underscores _.
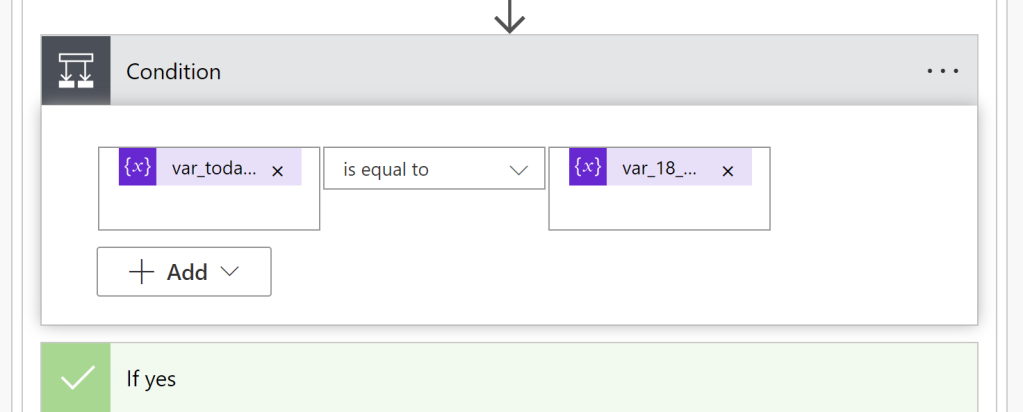
Step 6: Apply the secondary filter
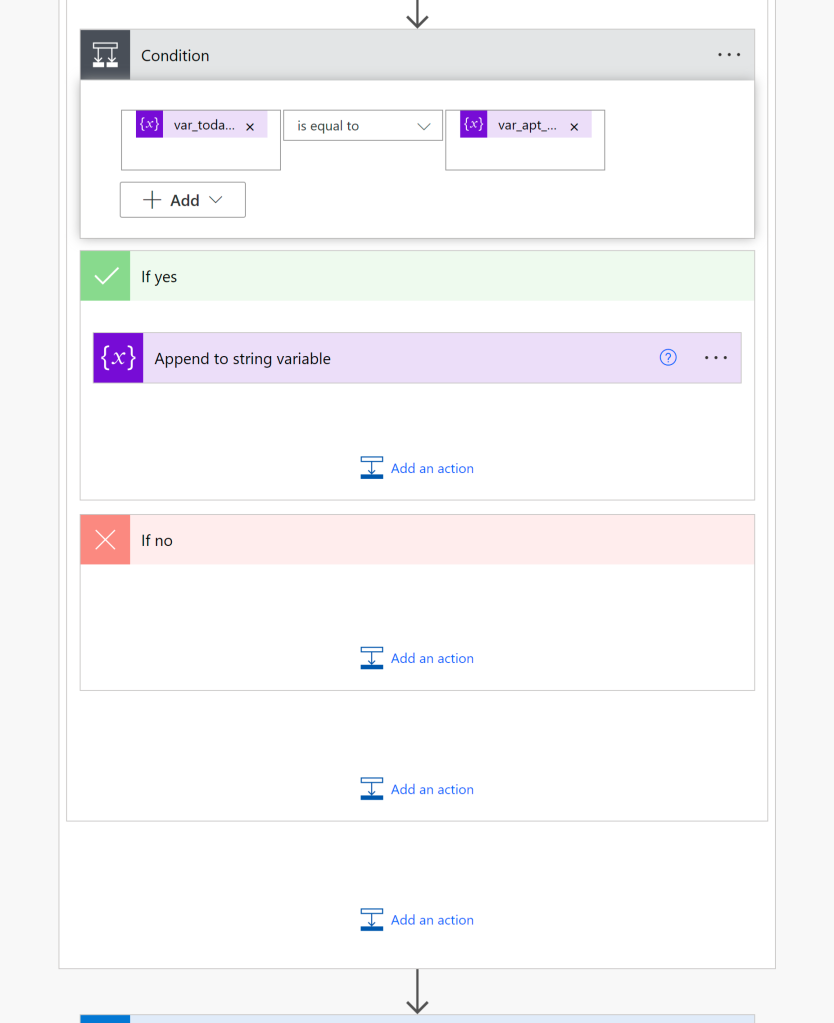
Now that we have manipulated all the dates using the Set Variable feature, we now perform a final filter that says “does the month and year for today’s date match the month and year for the 18 month from the date of initial appointment”
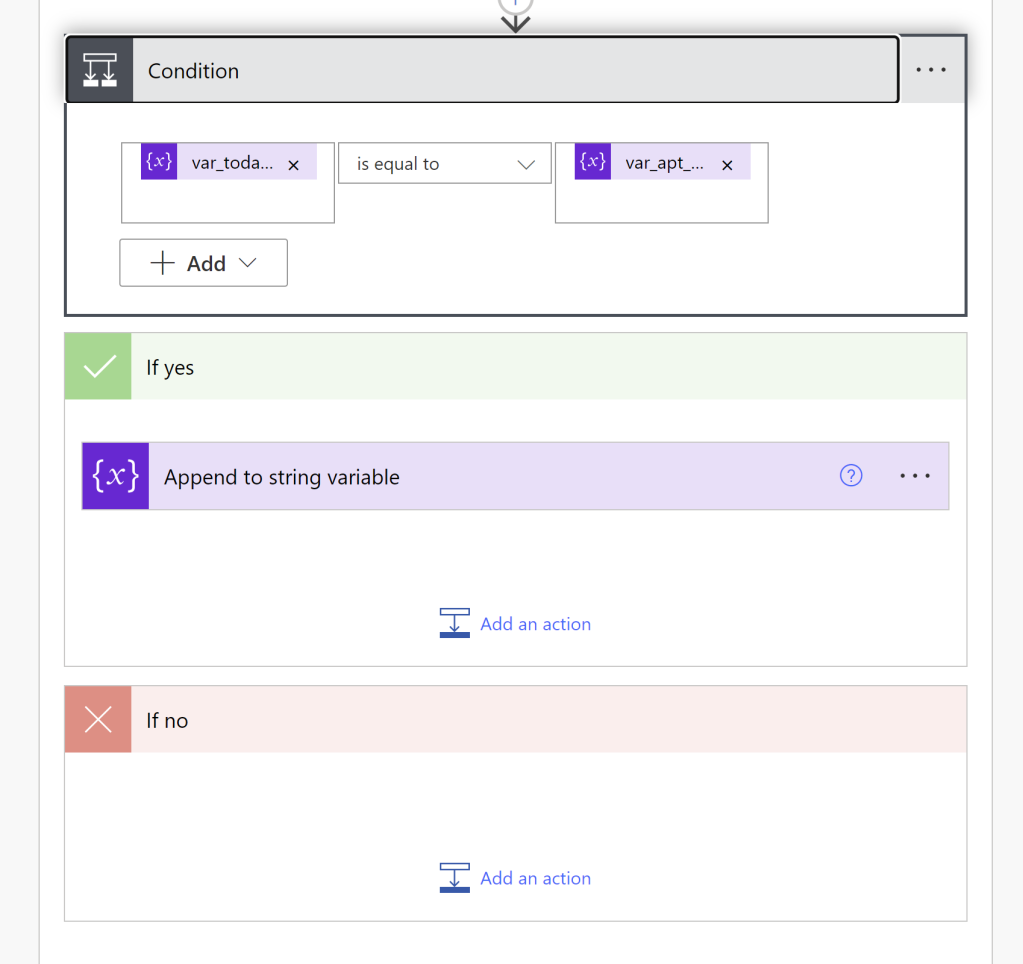
From here you create actions for those that meet the filter criteria above under the YES column. If there was anything you wanted to do with anyone who does not meet the exclusion criteria, you would enter actions in the NO column. In this flow, we won’t be using the NO column for this condition.
Grabs information from the spreadsheet or from the flow.
Use the settings below.
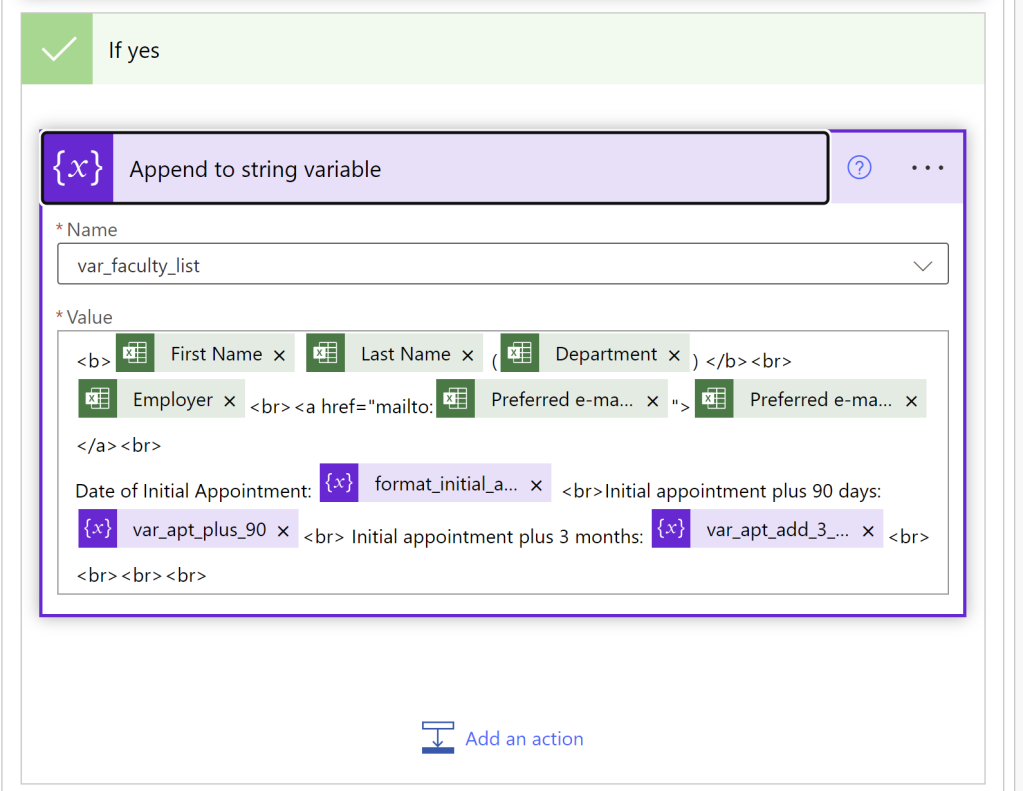
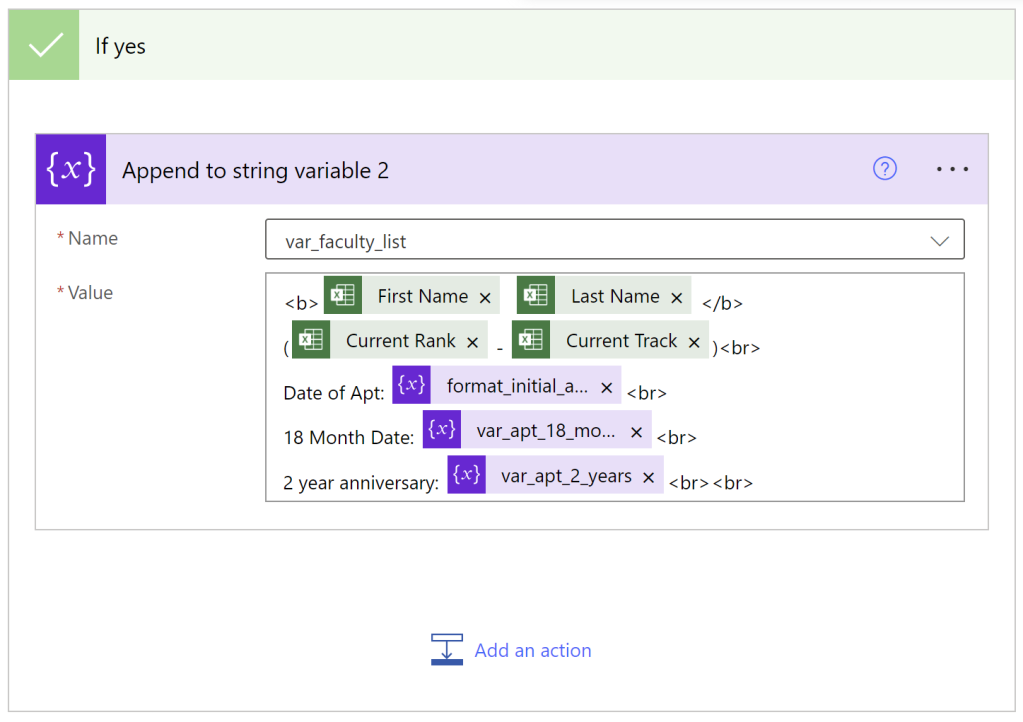
Within the YES column, add this Append Variable action
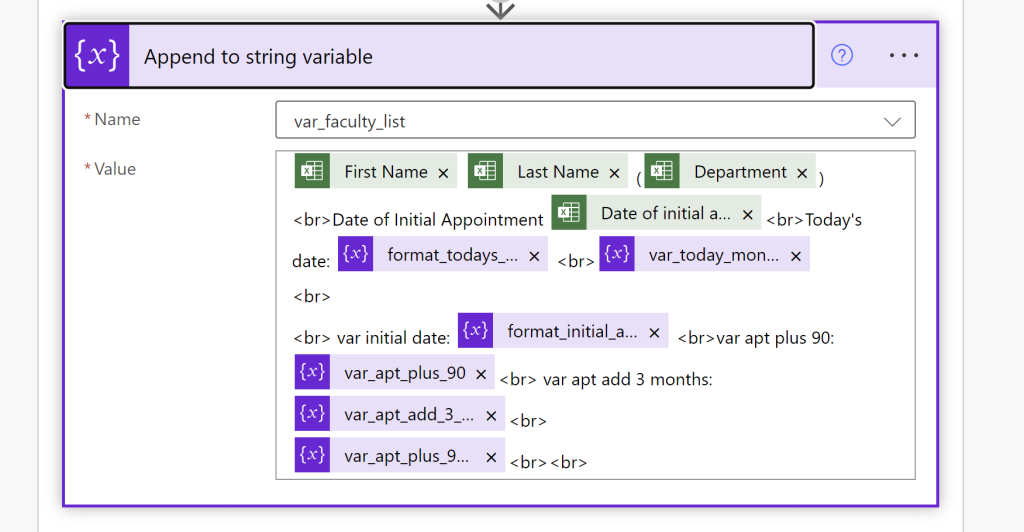
Append the variable var_faculty_list with the data about the faculty member you may want to include, as well as any data you may want to include from the variables we created along the way.
The append variable option allows you to include HTML tags to format your data. In this one, we bolded the First and Last Name by enveloping them in <b> and </b> tags. <br> is used to create new lines.
For each user we extract the following:
First Name Last Name (Current Rank – Current Track)
Date of Apt:
18 Month Date:
2 Year Anniversary:
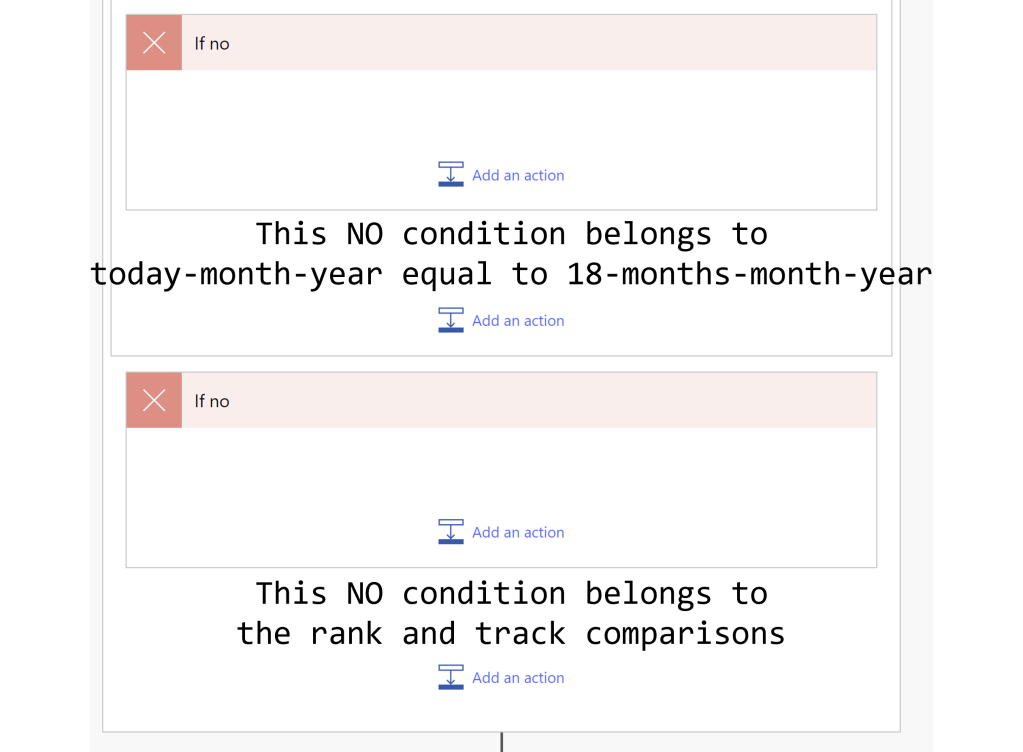
This screenshot is just here to show you that we did not use the IF NO portions of either of the conditions / filters we set above. The first NO applies to the month-year filter. The second NO applies to rank and track filter.
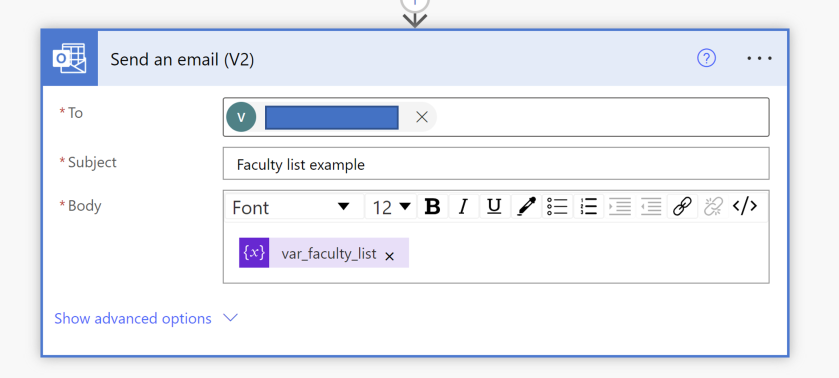
Step 7: Send the email
Below ALL the conditions (and make sure this is below all the conditions, at the VERY end of the flow) add the Send an Email action.
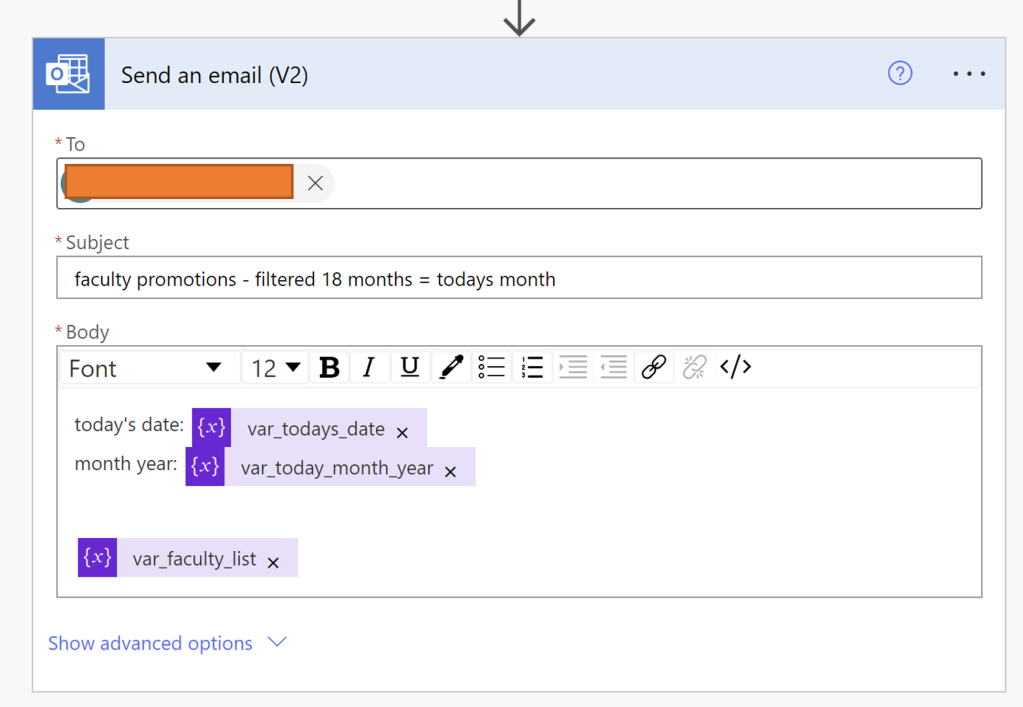
This action creates an email.
Add the recipient, the subject line, and then whatever content you want inside the email.
This one opens the date with today’s date, the current month and year, and then it adds the faculty list that was gathered in the append var_faculty_list variable.
Final note:
This flow generates a report with the people who meet the criteria. There are several ways in which you can modify this flow to where it would send emails directly to the faculty members with a note to let them know their 2 year anniversary is coming up. You might want to include a link to instructions, or send along an attachment with the form they might use. The client in this case wanted a report so they can craft their own emails and personalize them.
Because the lists generated here are fairly short, this customization will likely work. If you were needing to send hundreds of emails each month, you would want to automate that. Look for a future post to show what that would look like.
Four year notifications
The faculty affairs leader also wanted a report for people nearing their four year anniversary so that they too can receive reminders. In order to do that, just change the 18 months to 42 months, and the 24 months to 48 months in the above Add to Time functions.