
Creating or initializing variables inside Power Automate
In Part 1 we covered how to prepare your Excel Online spreadsheet so it can be used with Power Automate, and how to configure the List Rows function to read the dates in ISO format.
In Part 2 we will cover creating and manipulating variables using data from the spreadsheet. For the purposes of our project, I needed to manipulate dates from the spreadsheet. I need today’s date, and the “date of initial appointment.” I need to add three months to the date of initial appointment, and then compare that against today’s date.
I don’t need or want to make changes in the spreadsheet. I just need to pull data from it. And I can store that data temporarily into Power Automate variables.
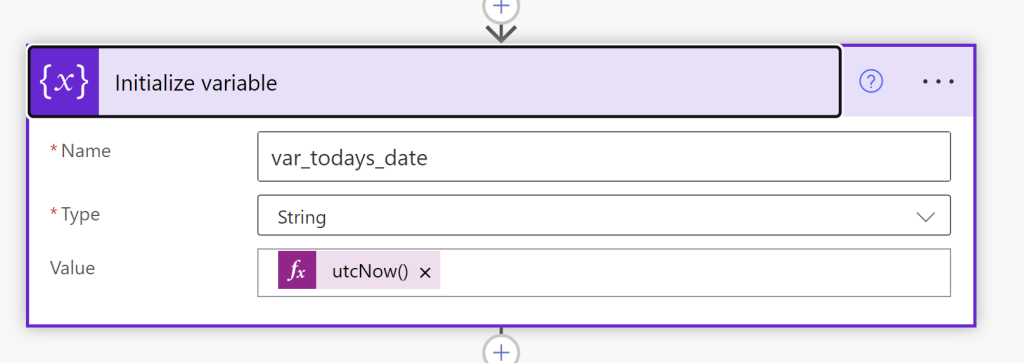
To work with variables inside Power Automate, you must first Initialize a variable. Initializing a variable really just means “give the variable a name.” Once you give the variable a name, you can manipulate the content of that variable later.
When you create the variable, you need to decide what kind of values will be held by that variable. Will it hold YES/NO data (Boolean)? Will it hold a number (Integer)? Will it hold some form of text (String)?
For the purposes of working with dates, we will use STRING as our variable type because it contains letters and numbers.
If you already have a set value for a variable (such as today’s date), you can give the variable a value during the Initialize stage, but most often you’ll likely set your variable value at a later stage in the Power Automate flow.
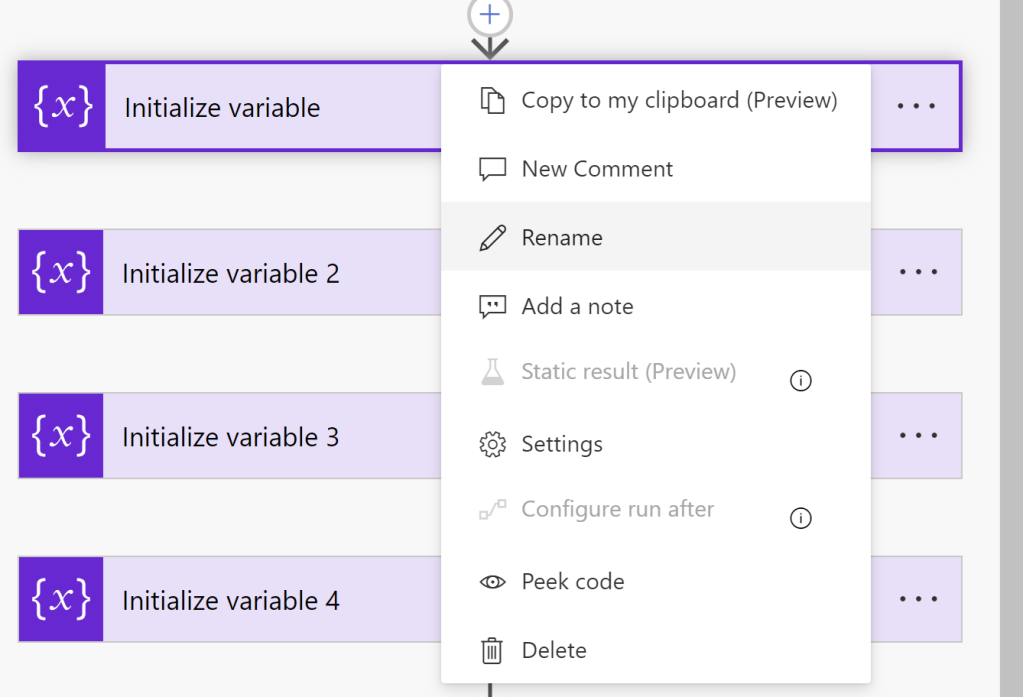
PRO TIP: when you have created/initialized your variable, it helps to use the RENAME function to rename the Initialize a Variable action by adding the name of your variable to it. Else you will end up with Initialize a Variable, Initialize a Variable 2, Initialize a Variable 3, and it can get difficult to figure out what you did later.
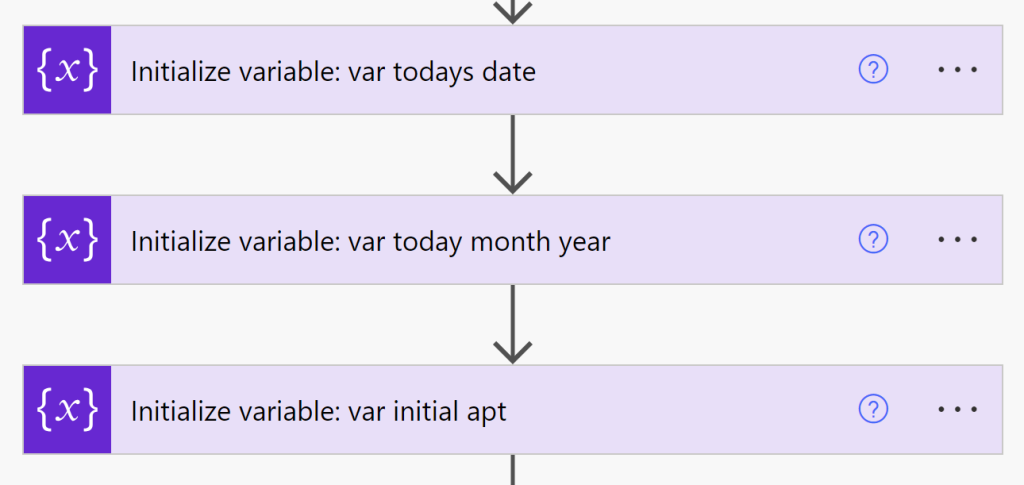
For the purposes of this project, I set up several variables
- var_todays_date with initial value of utcnow()
- var_initial_apt_date – which will later be set with the data from the Excel file
- var_apt_plus_90 – which will add 90 days to the initial apt date
- var_today_month_year – which you will use to format today’s date in month-year format: formatDateTime(variables(‘var_todays_date’),’MM-yyyy’)
- var_apt_90_month_year – which you will later use to format the 90 date in month-year format.
These month-year fields were built so I could compare those two values.
We want to show only those people where the month and year of today’s date matches the month and year for the 3 month date, so we need some way of comparing that information.

I also set up one additional variable, which I called var_faculty_list.
The purpose of the var_faculty_list variable is to capture the contents of the individual records when the dates match. So for each faculty whose appointment date was 3 months ago, their information will be added to this var_faculty_list string, which we will cover in Part 4.
Now that we have created / initialized all these variables, let’s actually do something with them. Part 3 will cover how to use the Apply to Each function, setting, and performing calculations on the variables.

3 thoughts on “Extracting data from Excel using Power Automate (Part 2)”