
The whole power automate sequence
This is the complete power automate sequence I created for our faculty list project. The purpose of the project was to automatically send an email on a monthly basis. The email should list the people who joined the faculty three months prior. We start by creating a number of variables using the Initialize Variable actions. Then we open an Excel file, and for each row, we first make sure there is data in the row itself, and then we perform some calculations to add 90 days to each appointment date. If the month and year of the 90-day variable match the month and year of today’s date, then we add the information from that row into a string called var_faculty_list that is destined to be included in an email. When all of the rows have been reviewed, the var_faculty_list variable is added to an email and sent to the head of faculty affairs.
If you need help with some of the steps or need extra information, refer to the individual parts in this series:
- Part 1: Project introduction and setting up Excel sheet
- Part 2: Creating or initializing variables inside Power Automate
- Part 3: Setting variables inside Power Automate
- Part 4: Append a variable, and send an email
- Part 5: Using a condition to filter your data
- Part 6: Using a condition to deal with empty rows
- Part 7: Formatting dates using Power Automate
I hope you found this series helpful as you begin your Power Automate journey. If you know of better or more efficient ways of accomplishing the same task, feel free to add a comment to this post.
NOTE: the formulae in the captions are not code formatted, so any quotes will need to be turned to foot marks ‘ within the Expression box
Full sequence
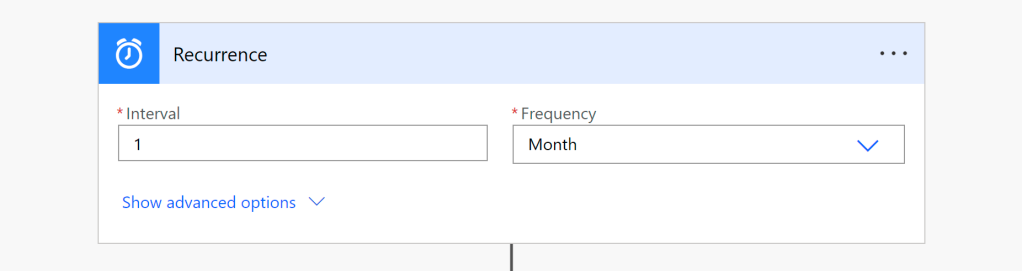
We start with setting the recurrence of the flow. For testing purposes, you may want this set to every hour, but for practical purposes, set this to your required recurrence. In my case, it’s monthly.
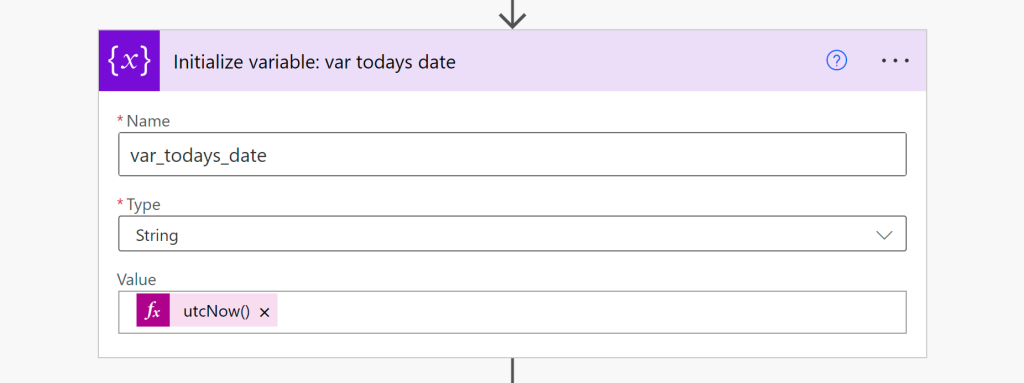
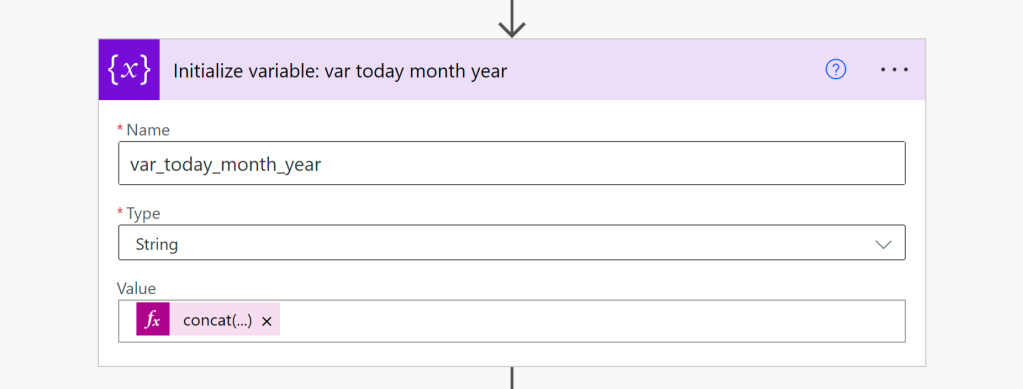
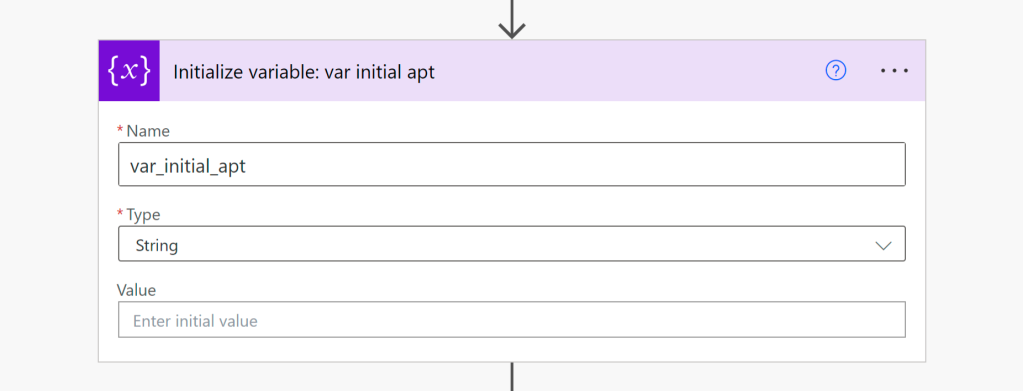
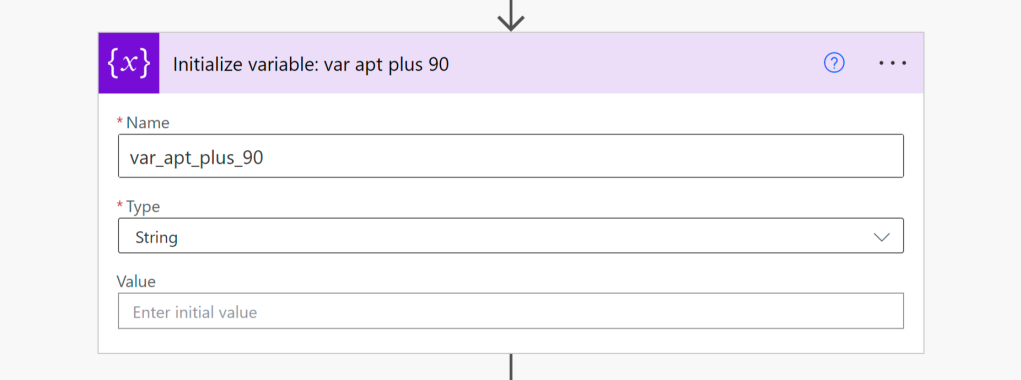
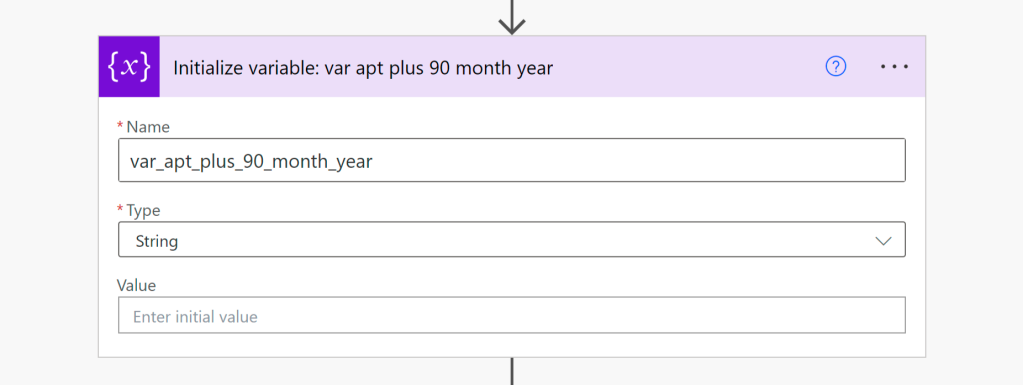
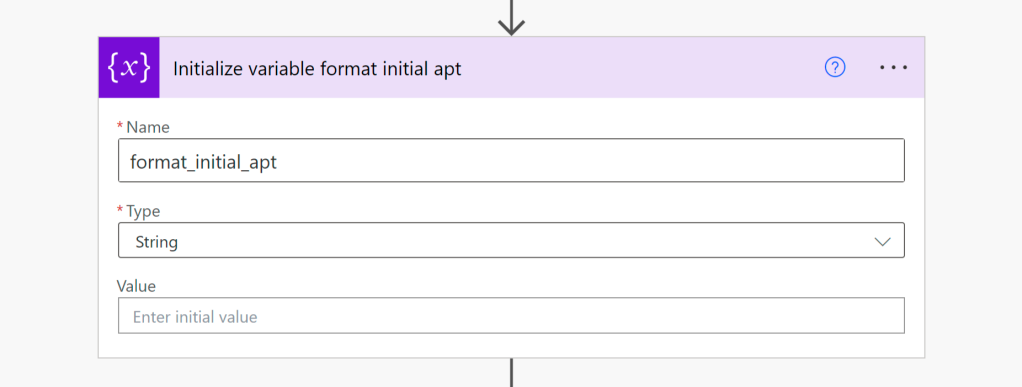
Initialize all the variables
Next we initialize all the variables we need. I put them all at the beginning so that I knew where they were.
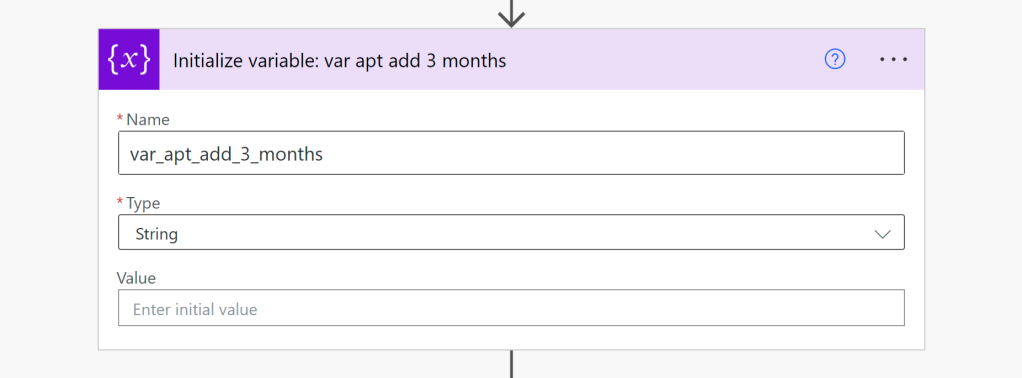
The purpose for this is an alternate to 90 days. Three months might be more accurate.
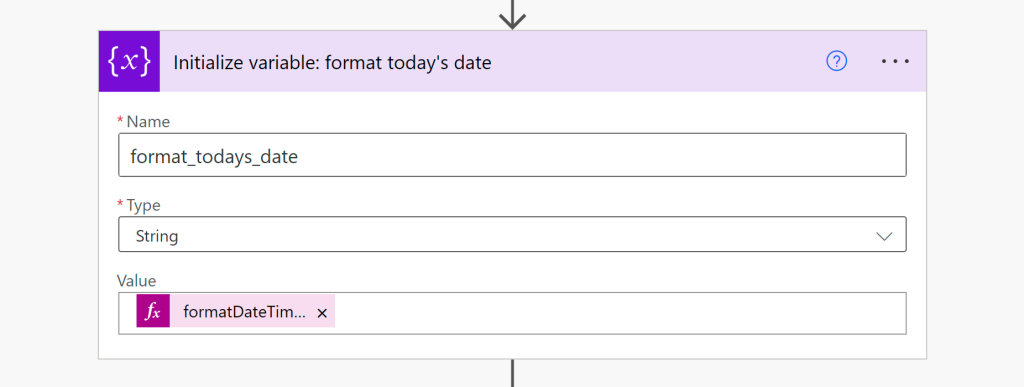
formatDateTime(variables(‘var_todays_date’),’MM/dd/yyyy’)

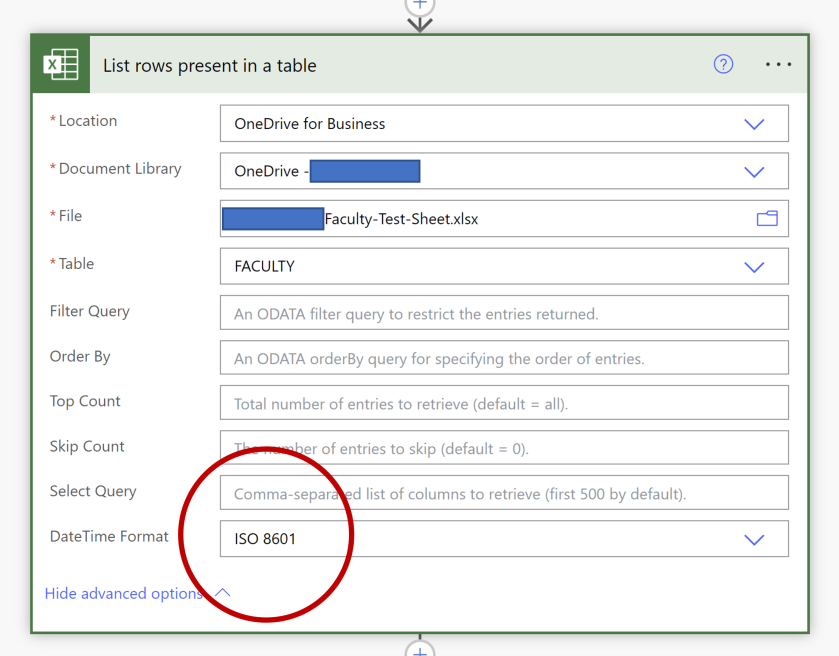
Access the Excel file
As noted in Part 1, the important thing to do here is to set the Format of DateTime to ISO 8601
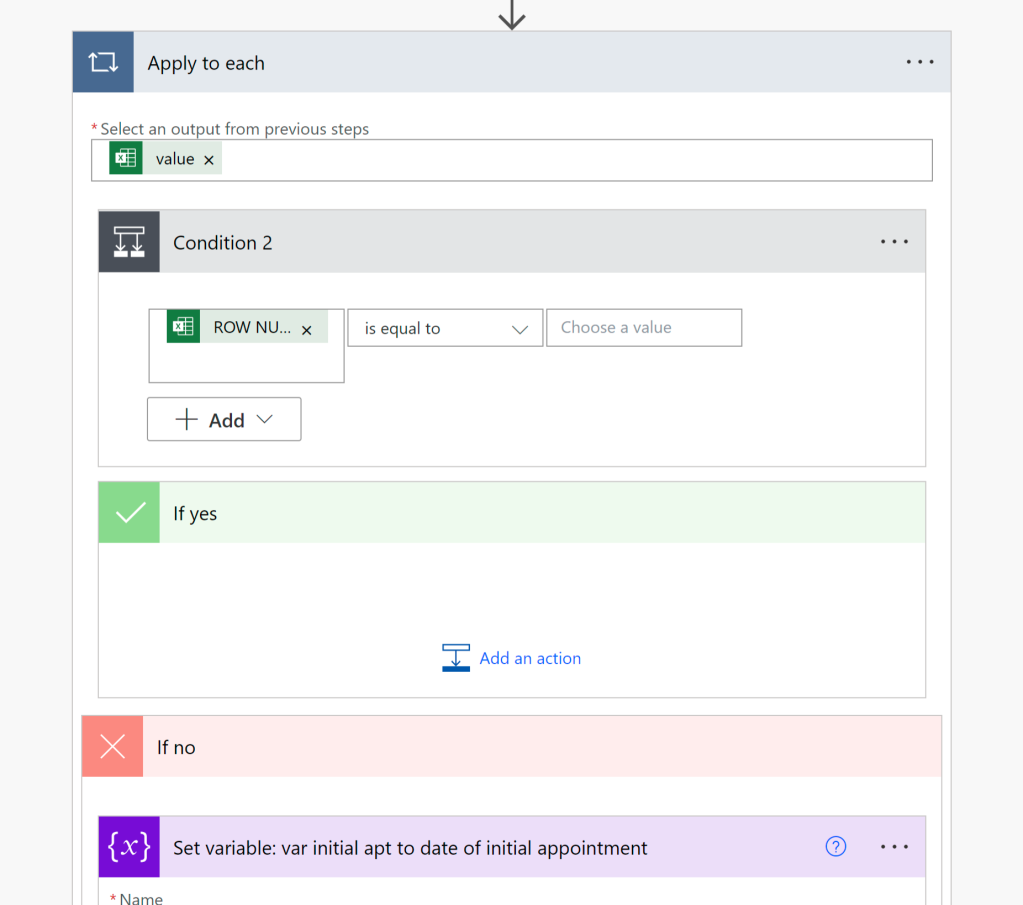
Apply to each – Add the condition that ensures that the row is not blank
First we want to make sure that we are working with rows that contain data. This condition ensures that. It checks that the ROW NUMBER field is blank.
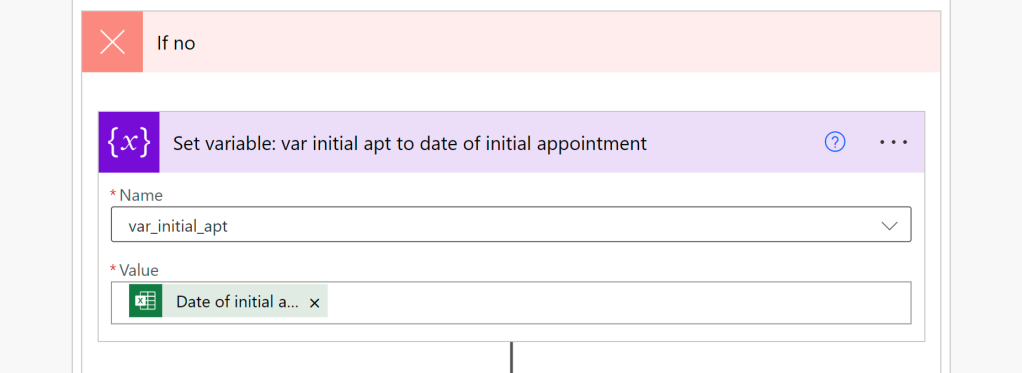
If YES (the row is blank), then nothing happens, and it moves to the next row.
If NO (the row contains data), then the rest of the flow occurs.
If it is not blank, it continues.
Set each of the variables inside the loop

Optional – 3 month version
Optional: If you want to set 3 months instead of 90 days, use the next two actions. If you are fine to just use 90 days, you can skip these.
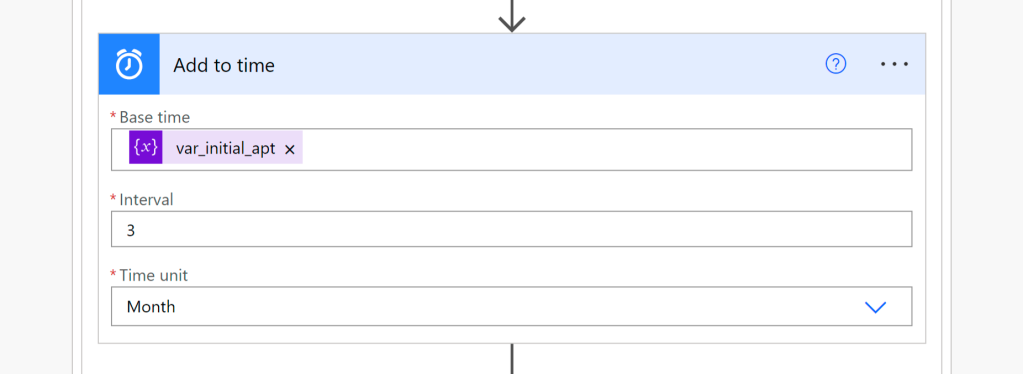
Base time: var_initial_apt
Interval: 3
Time Unit: Month
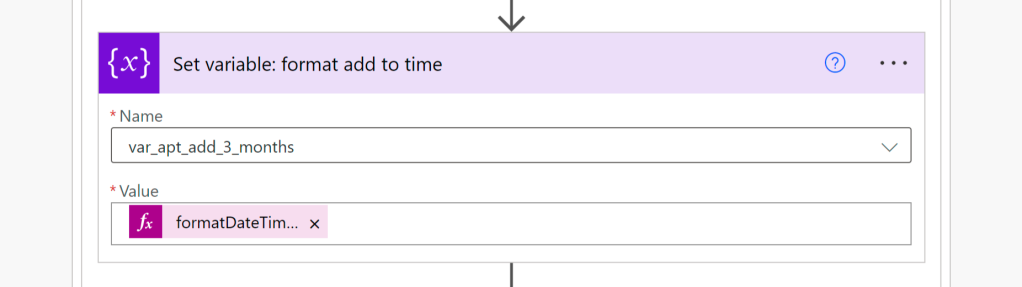
Note that the body(‘Add_to_time’) is the variable that you’re formatting here.
RESUME OUR REGULAR PROGRAMMING
For this next action, choose the variable you want to use – either the var_apt_add_3_months or the var_apt_plus_90.
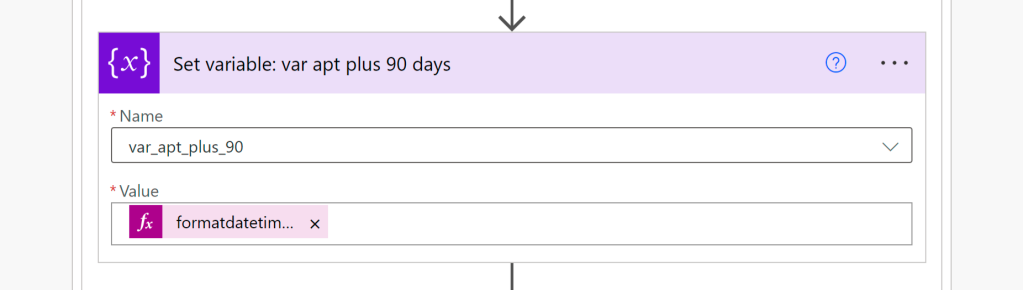
The purpose of creating this variable was to set the month-year of the 90 day appointment, so we can compare it against the month-year of today’s date.
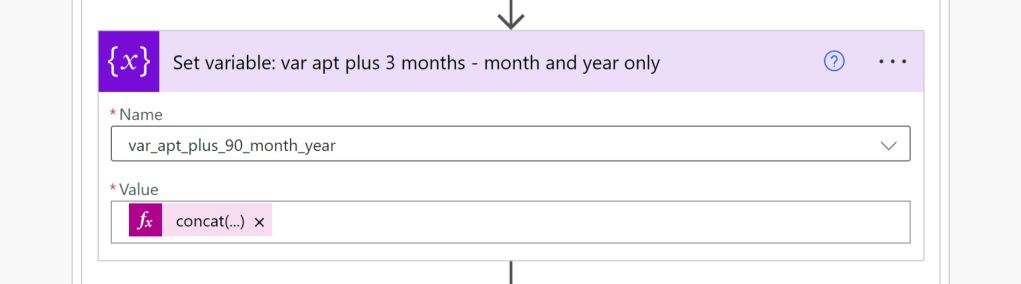
formatDateTime(variables(‘var_apt_3_months’),’MM-yyyy’)
formatDateTime(variables(‘var_apt_plus_90′),’MM-yyyy’)
Apply to Each – Adding a condition comparing the month/year values
This is where the magic happens… if var_today_month_year matches var_apt_plus_90_month_year.
If the month and year for today’s date matches the month and year of the 3-month anniversary for our faculty member (IF YES), add their info to the faculty list variable.
If they do not (IF NO), then do nothing and move onto the next row.
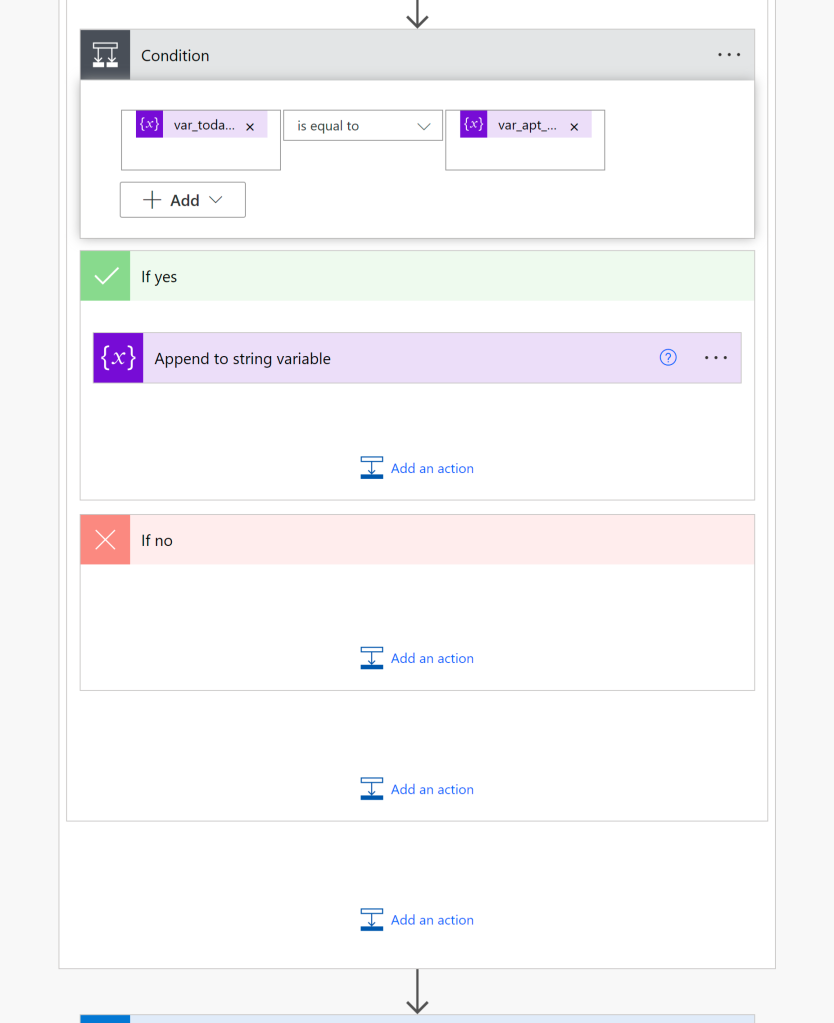
You’ll note how there are several add to actions showing here… The first one is the IF NO action. The second one is there in case there is an action that needs to happen after the YES/NO condition has been reviewed. The third one is still part of the prior (if the row is not blank) condition. In the image above you’ll see a partial Email Send screen which happens after ALL Apply to Each actions have been resolved.
This next screenshot shows the details of the append to string variable from the above conditional screenshot.
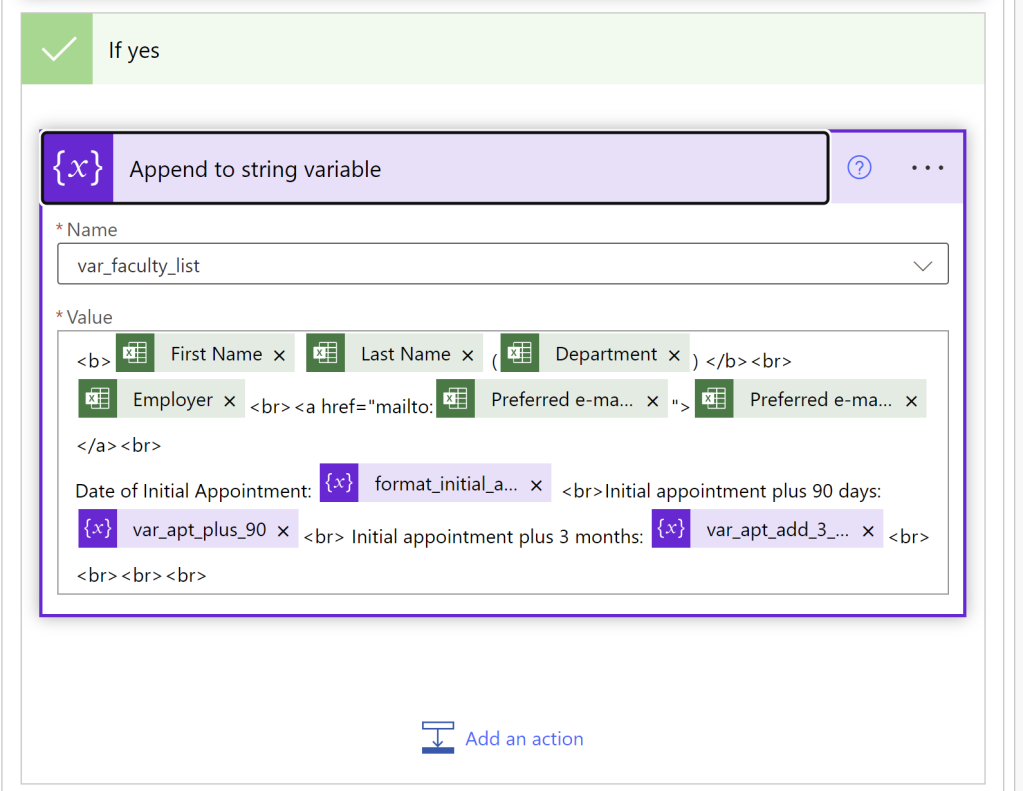
This screenshot shows first name, last name, department bolded with <b>, then employer information and the email address of the faculty member formatted with <a href code to make in an active link. It also includes the various dates in MM/dd/yyyy format. This is what was presented to the client, so they could choose which of the dates they would want. 90 days is slightly different than 3 months. My client chose 90 days. Yours might choose a different option. That is why I provided both versions of calculating in this page.
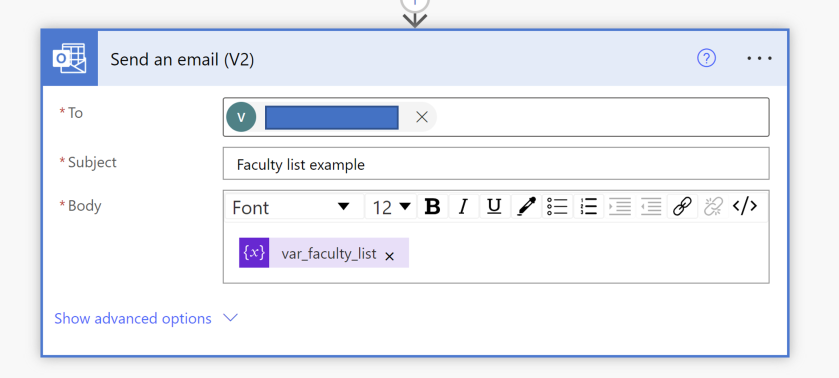
Time to send the email
It’s almost anti-climactic at this point, but the final piece to the puzzle is to actually send the email out to the user.

One thought on “Extracting data from Excel using Power Automate (Part 8)”